2016 Programs

2015 Programs

January 28th
Snowman Inside-Out Ornament

by Todd VanDeWalker

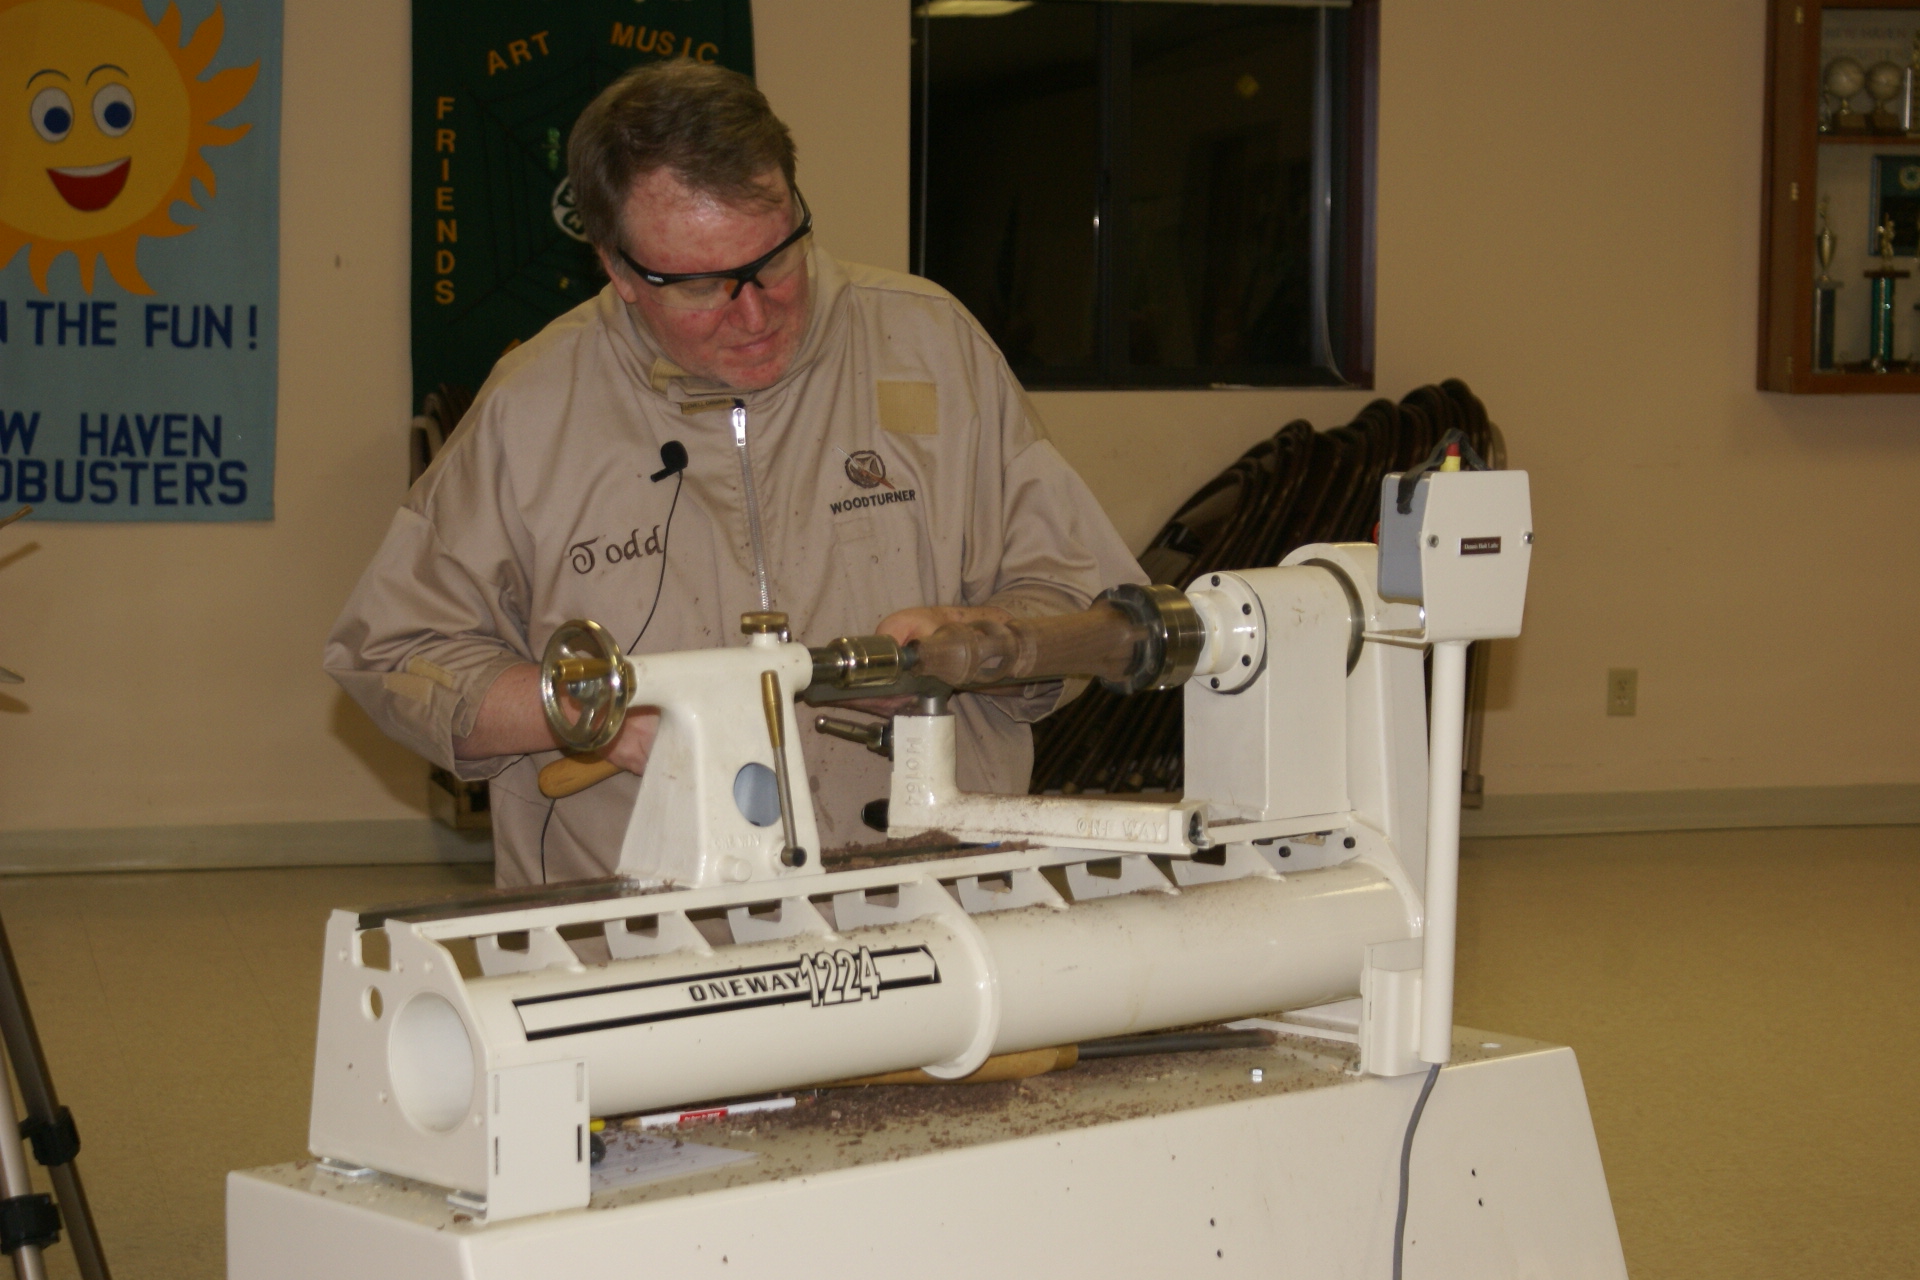
Todd presents on making his popular inside-out showman ornament.


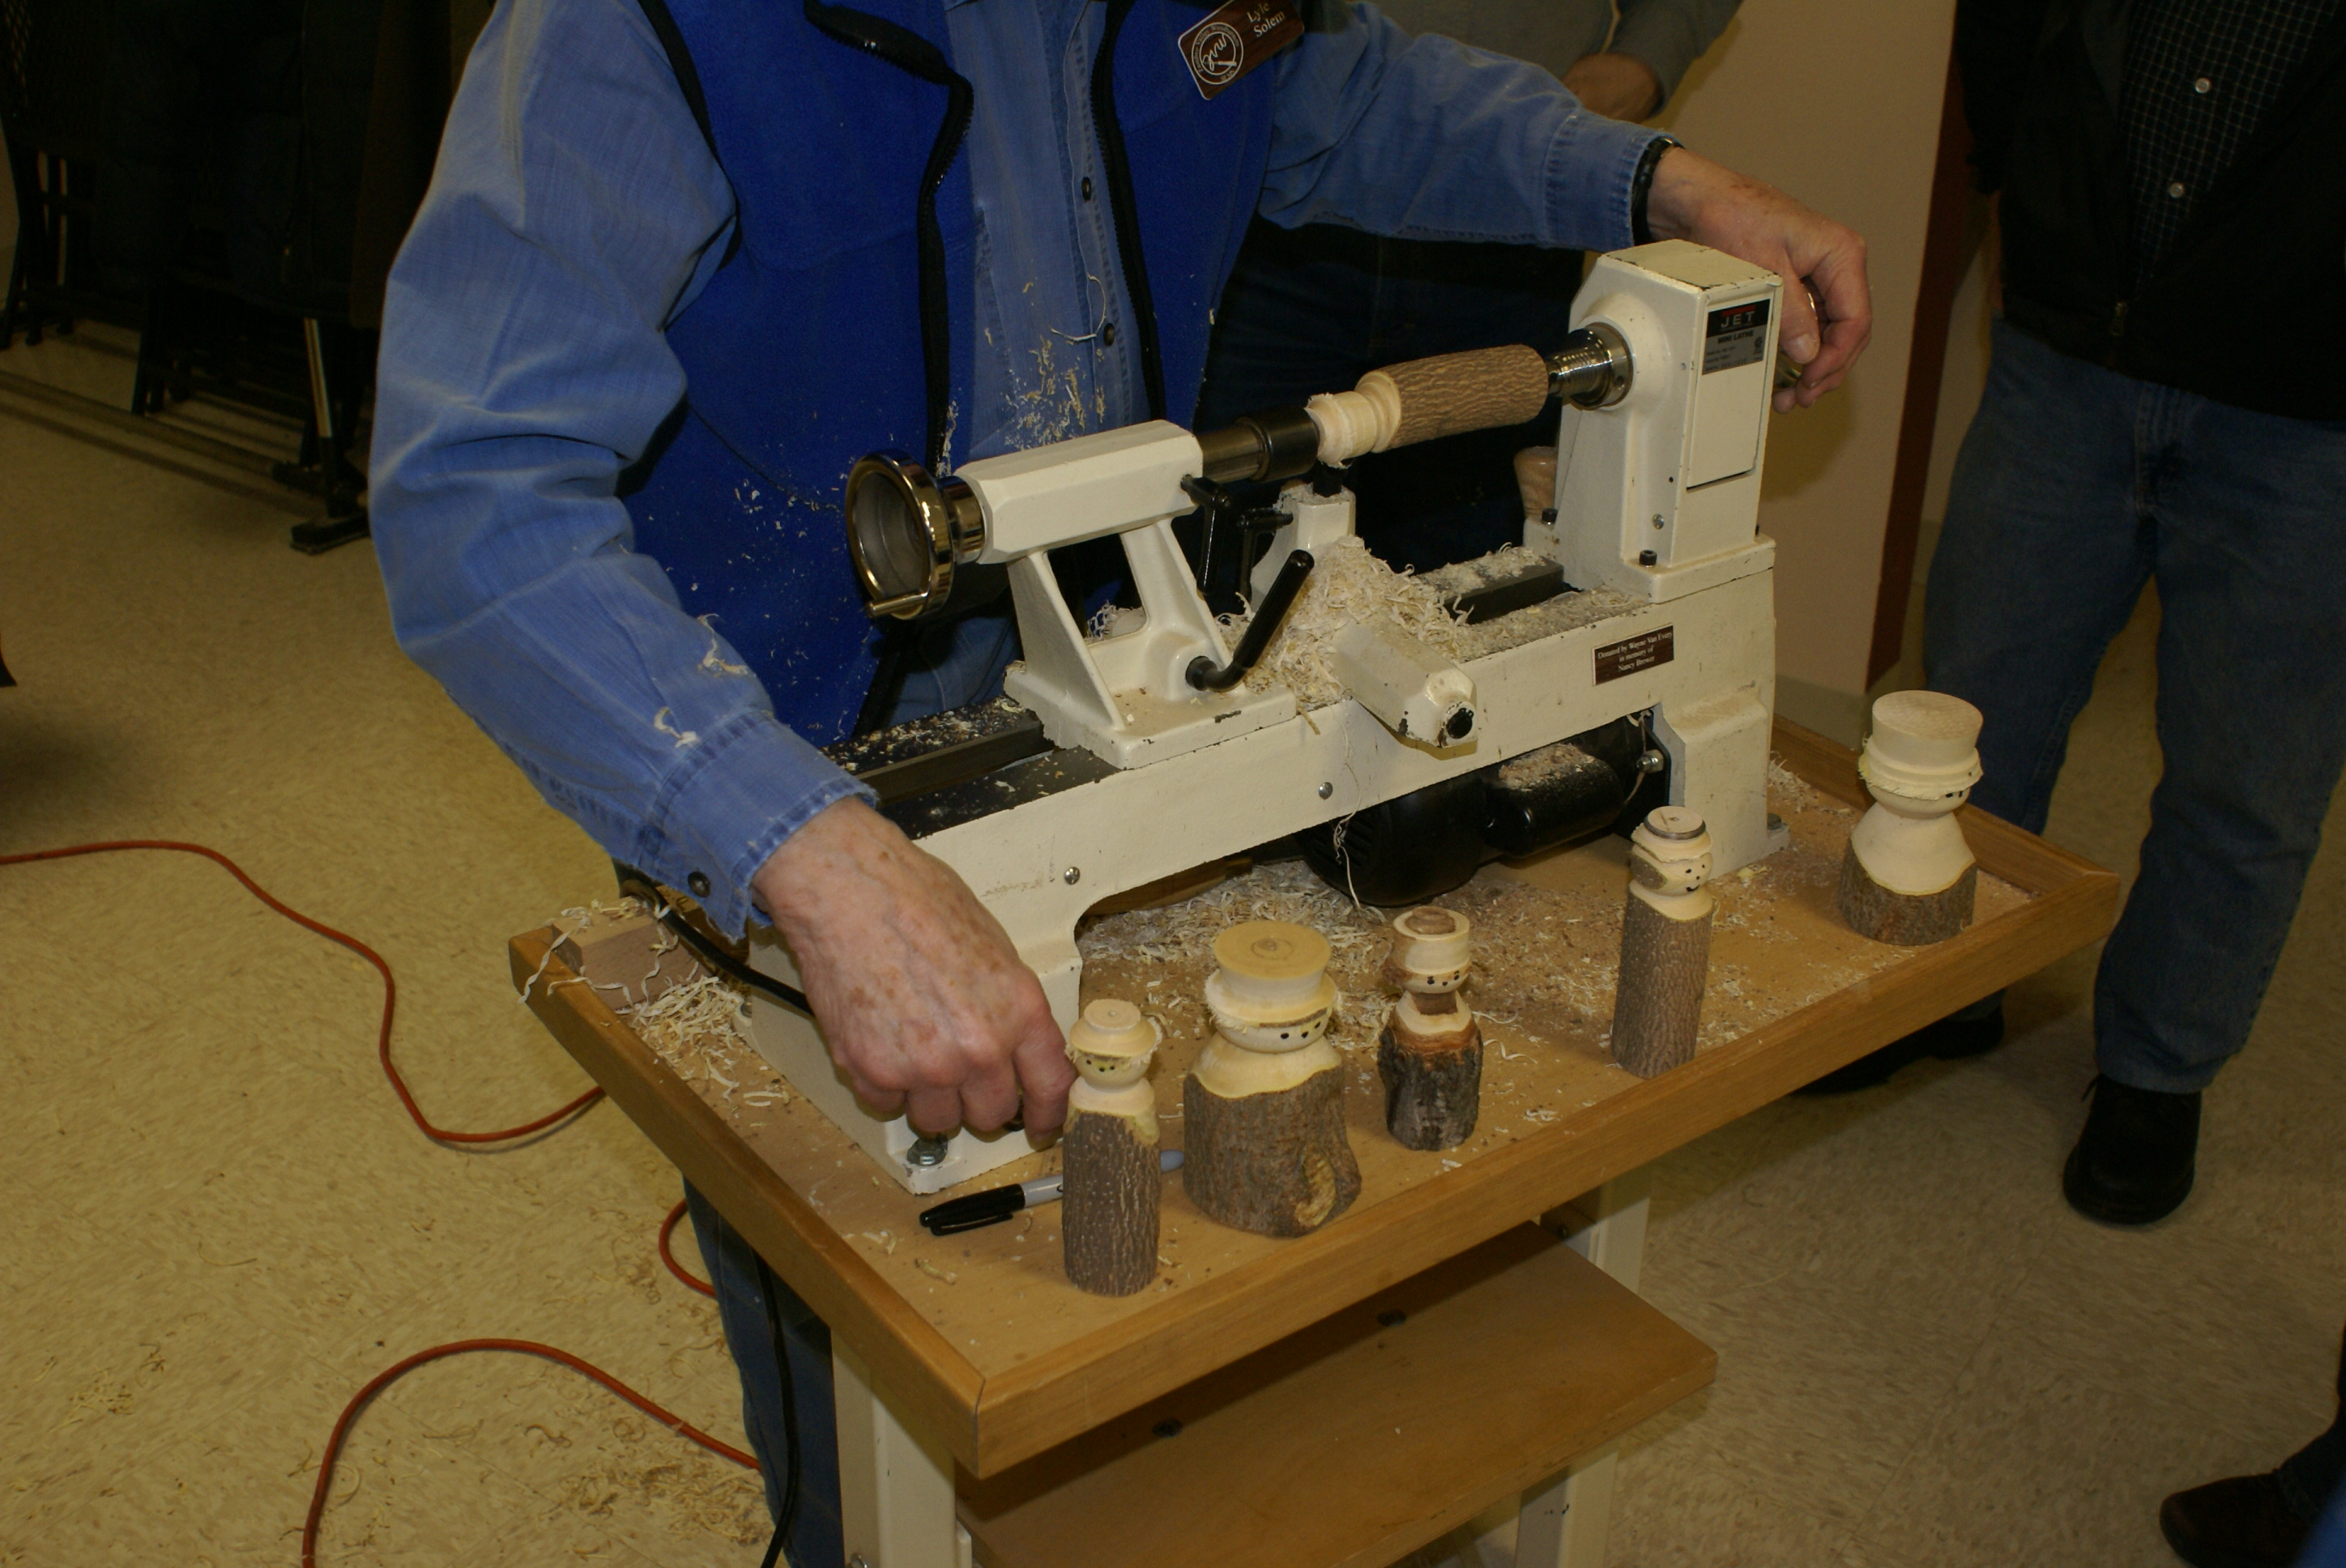
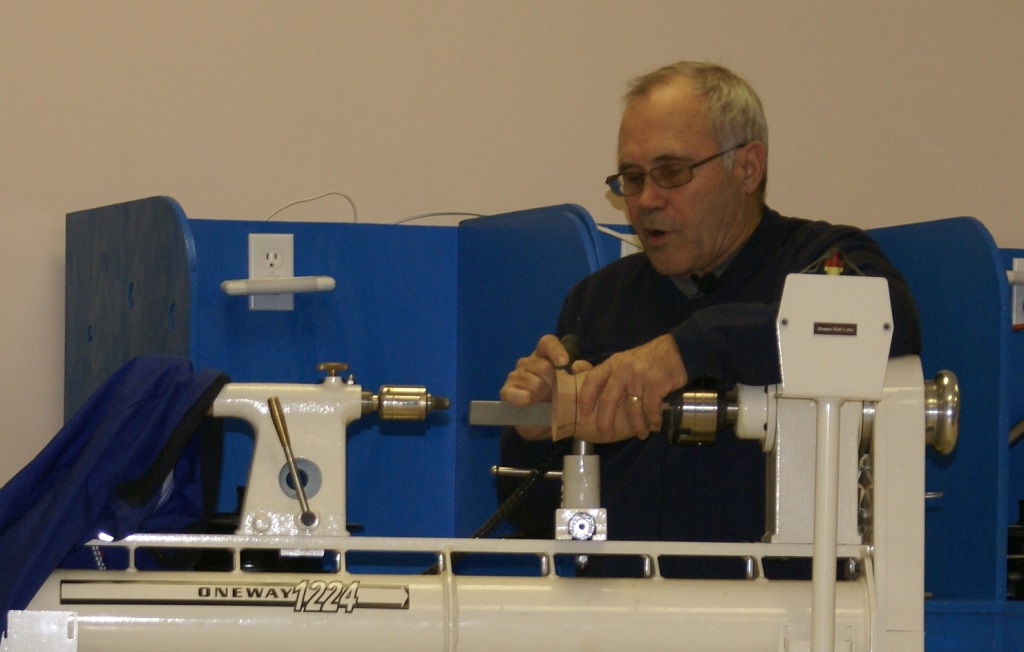
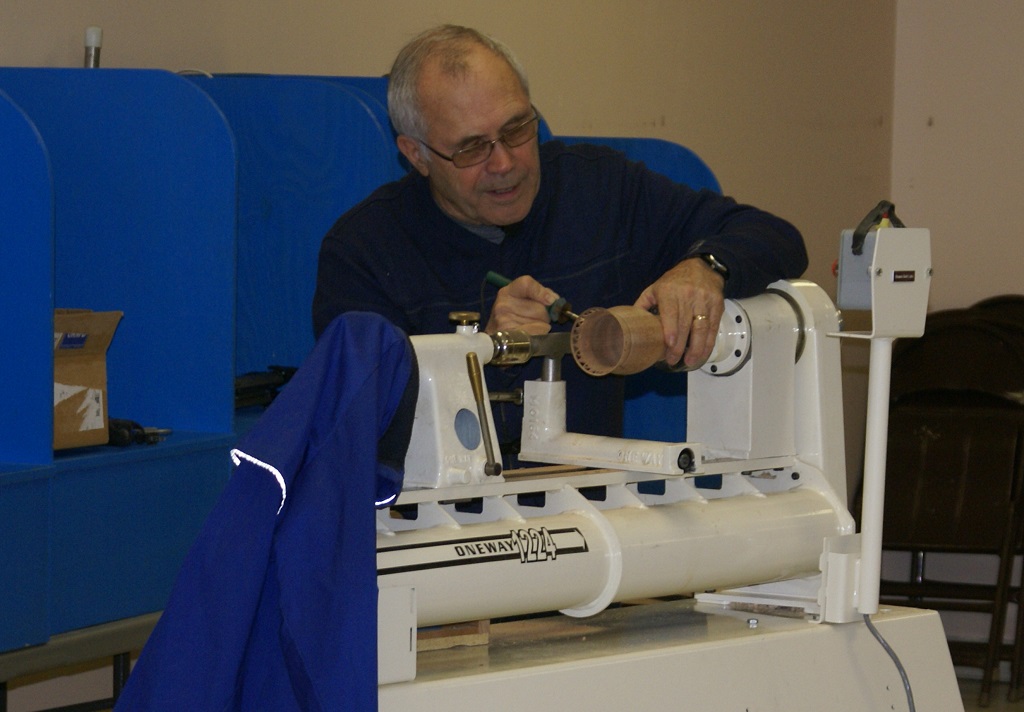
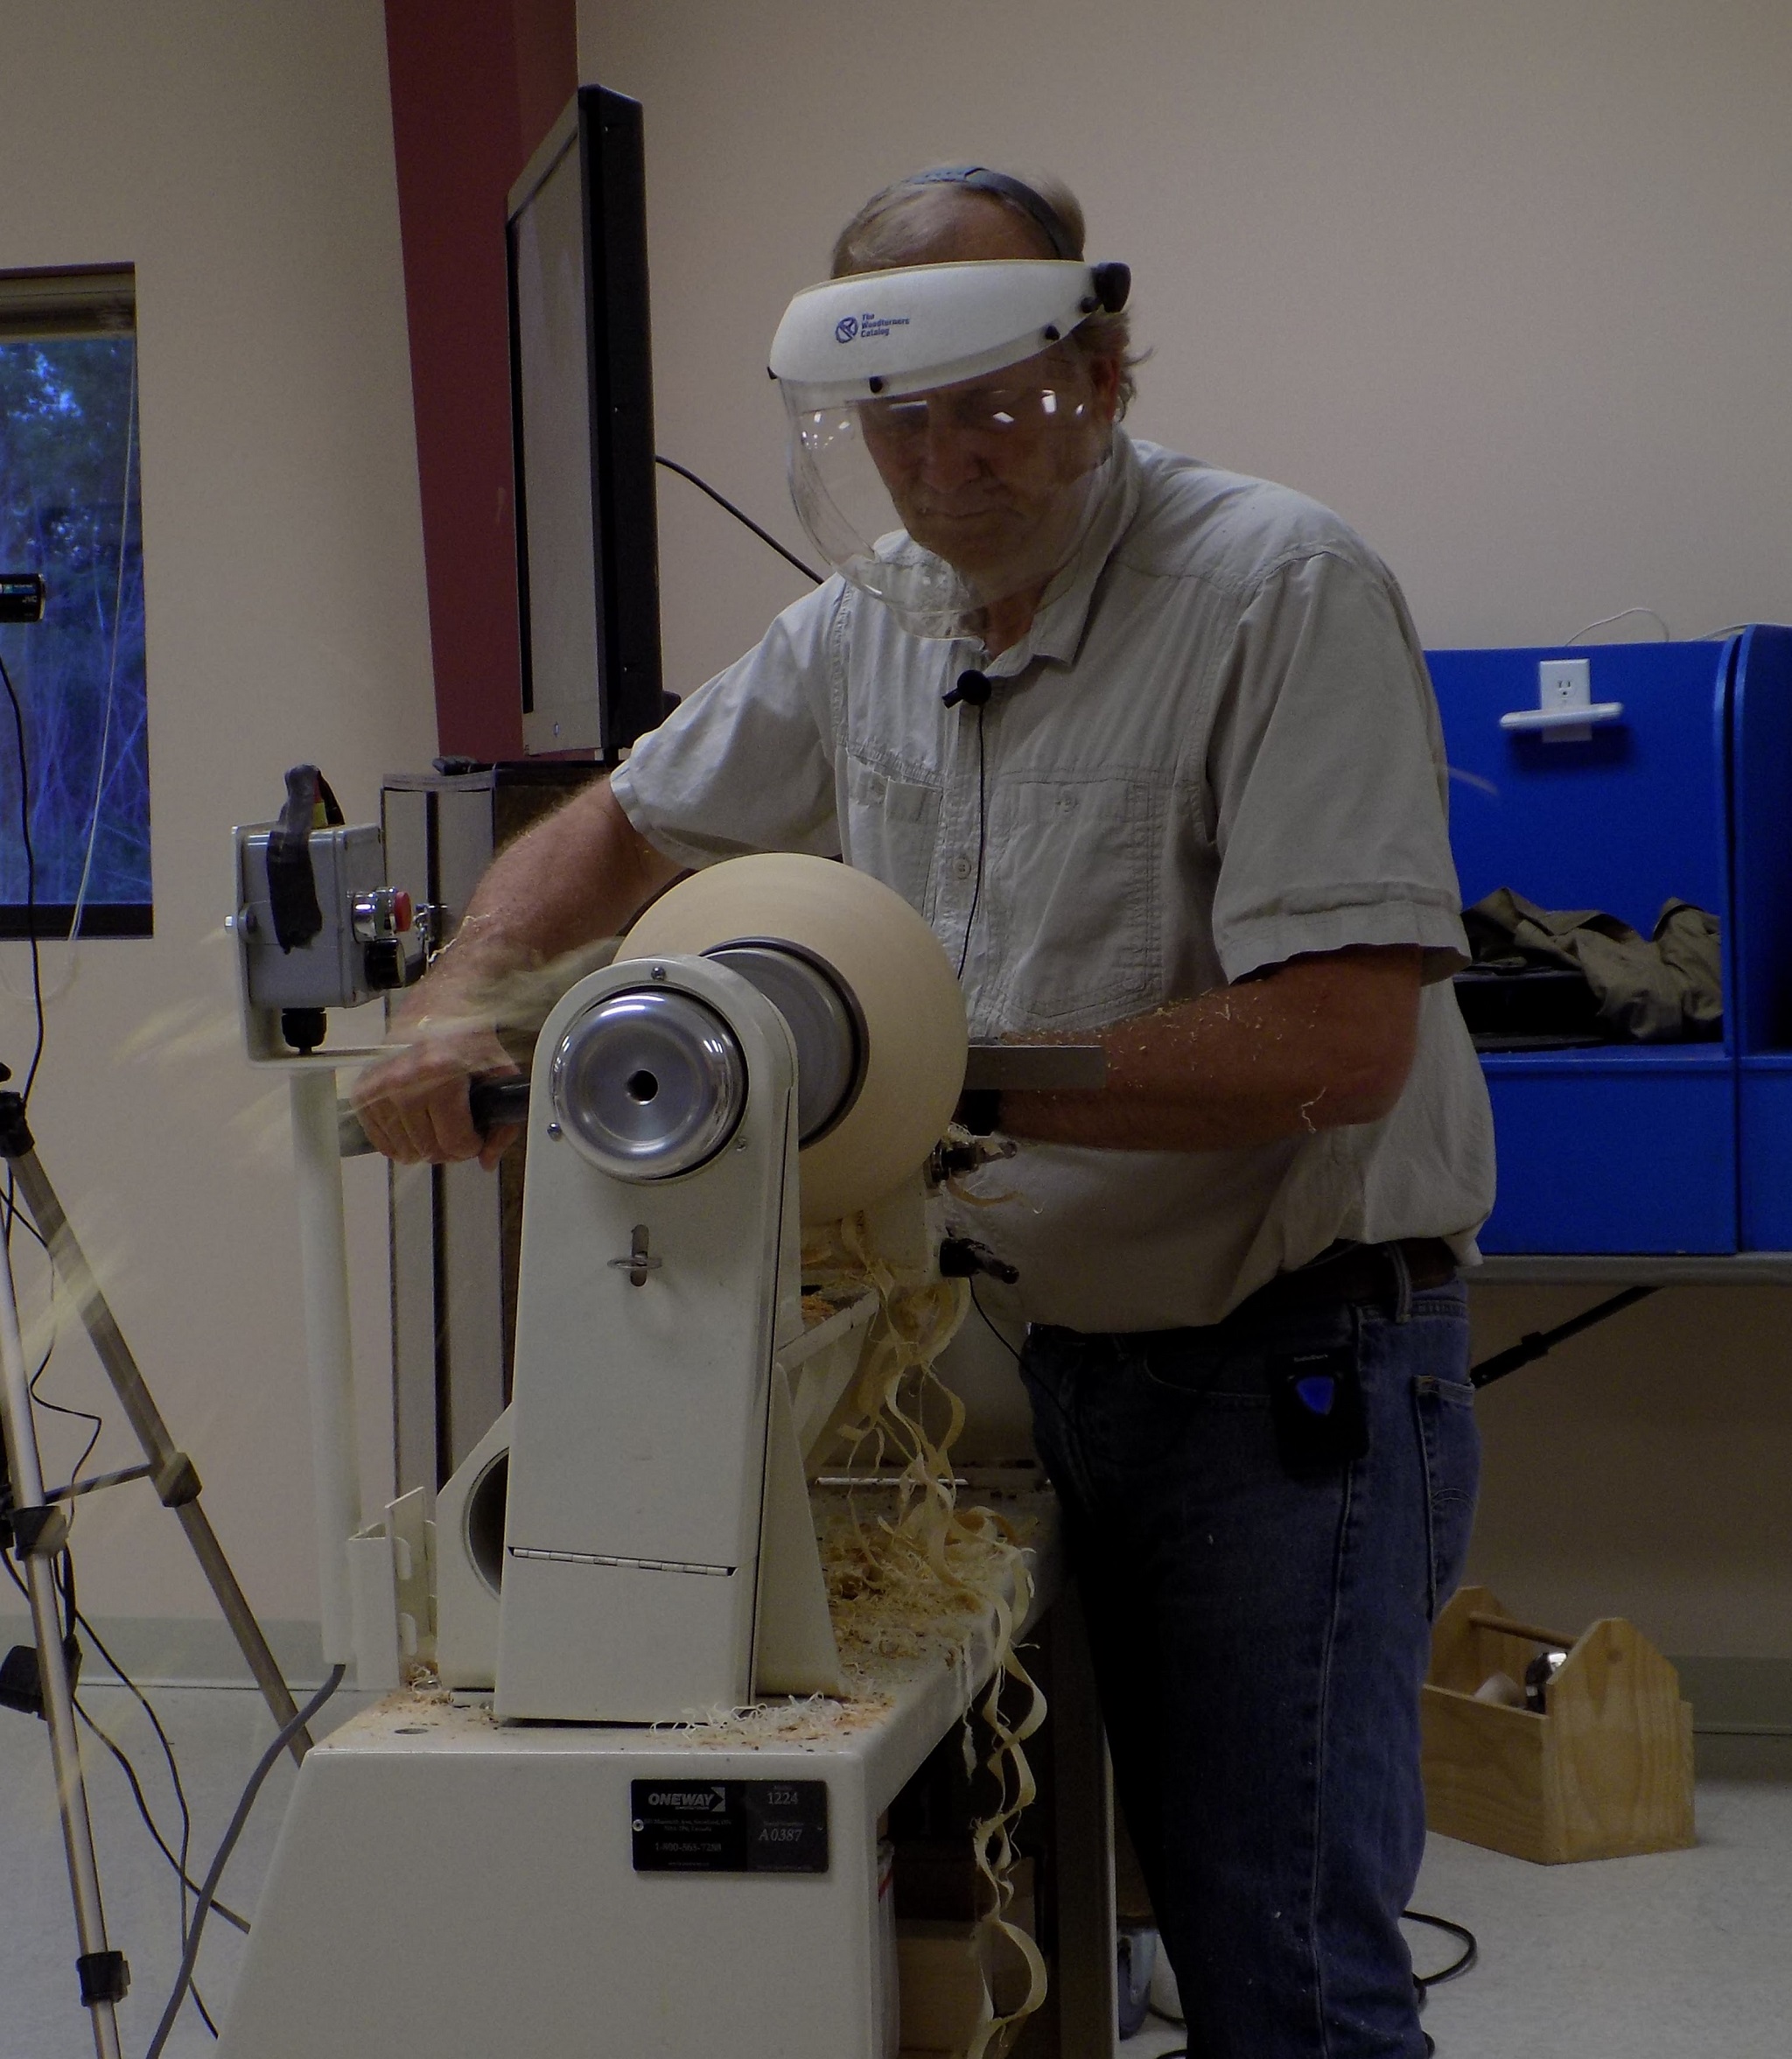
Todd at the lathe

The technique Todd uses does not require a long drying period for gluing the staves but he used a pre-prepared a second example so he could quickly go from turning the inside of the ornament to turning the outside.


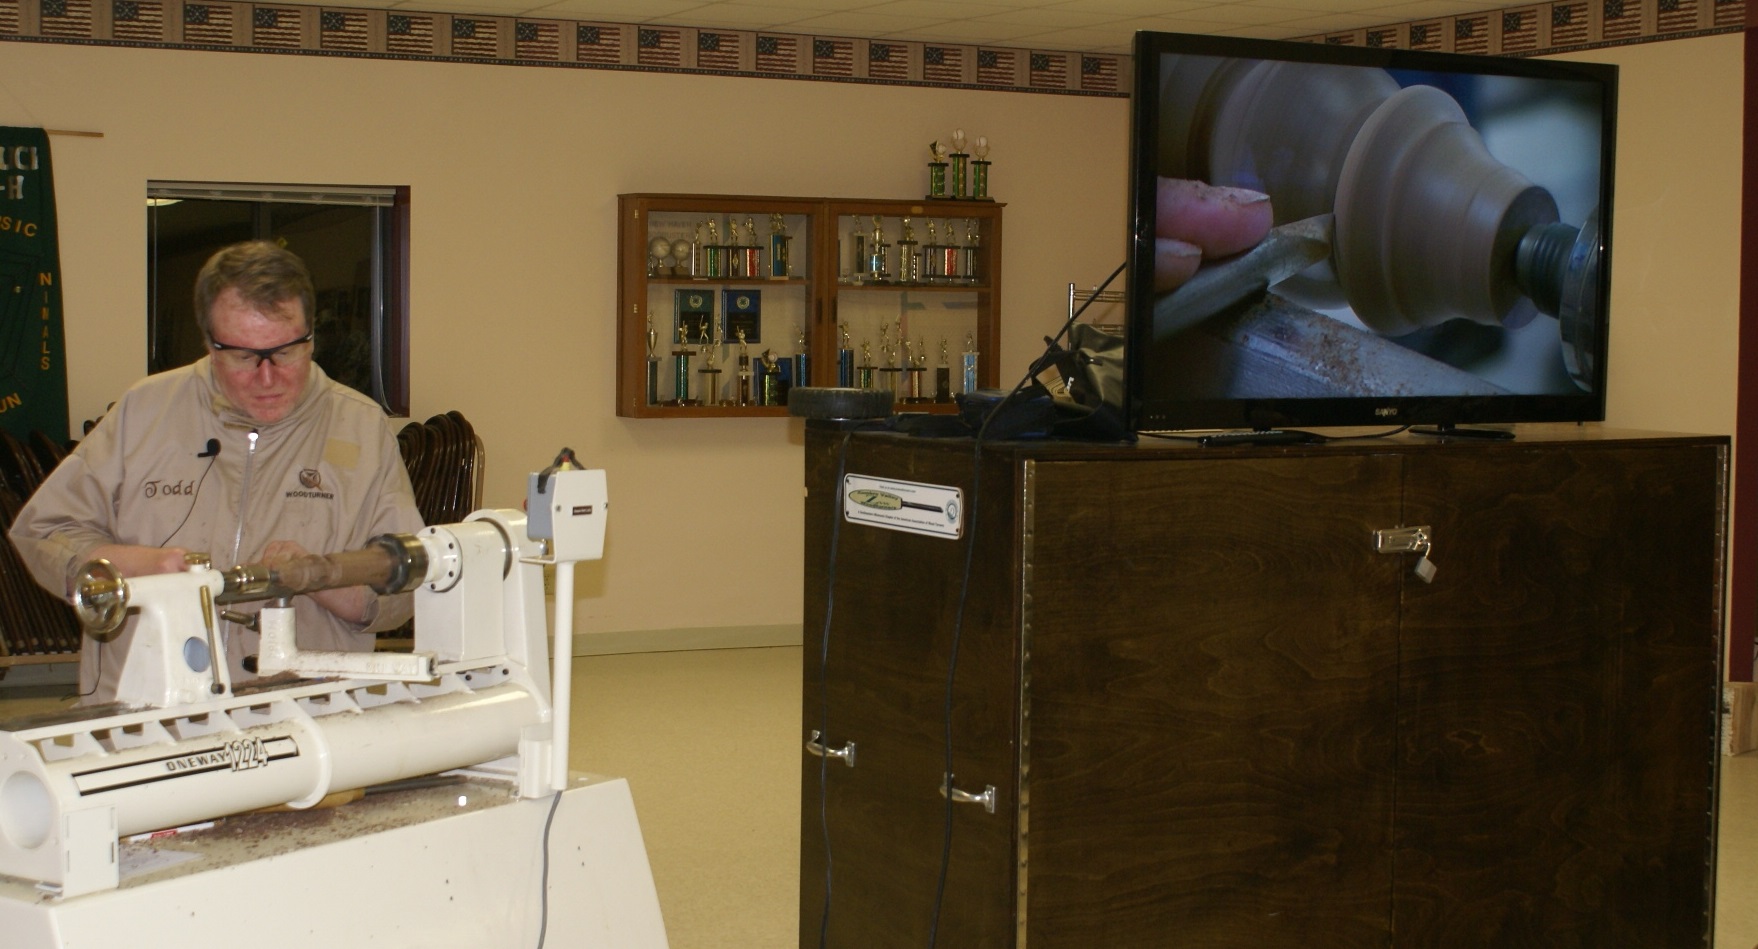
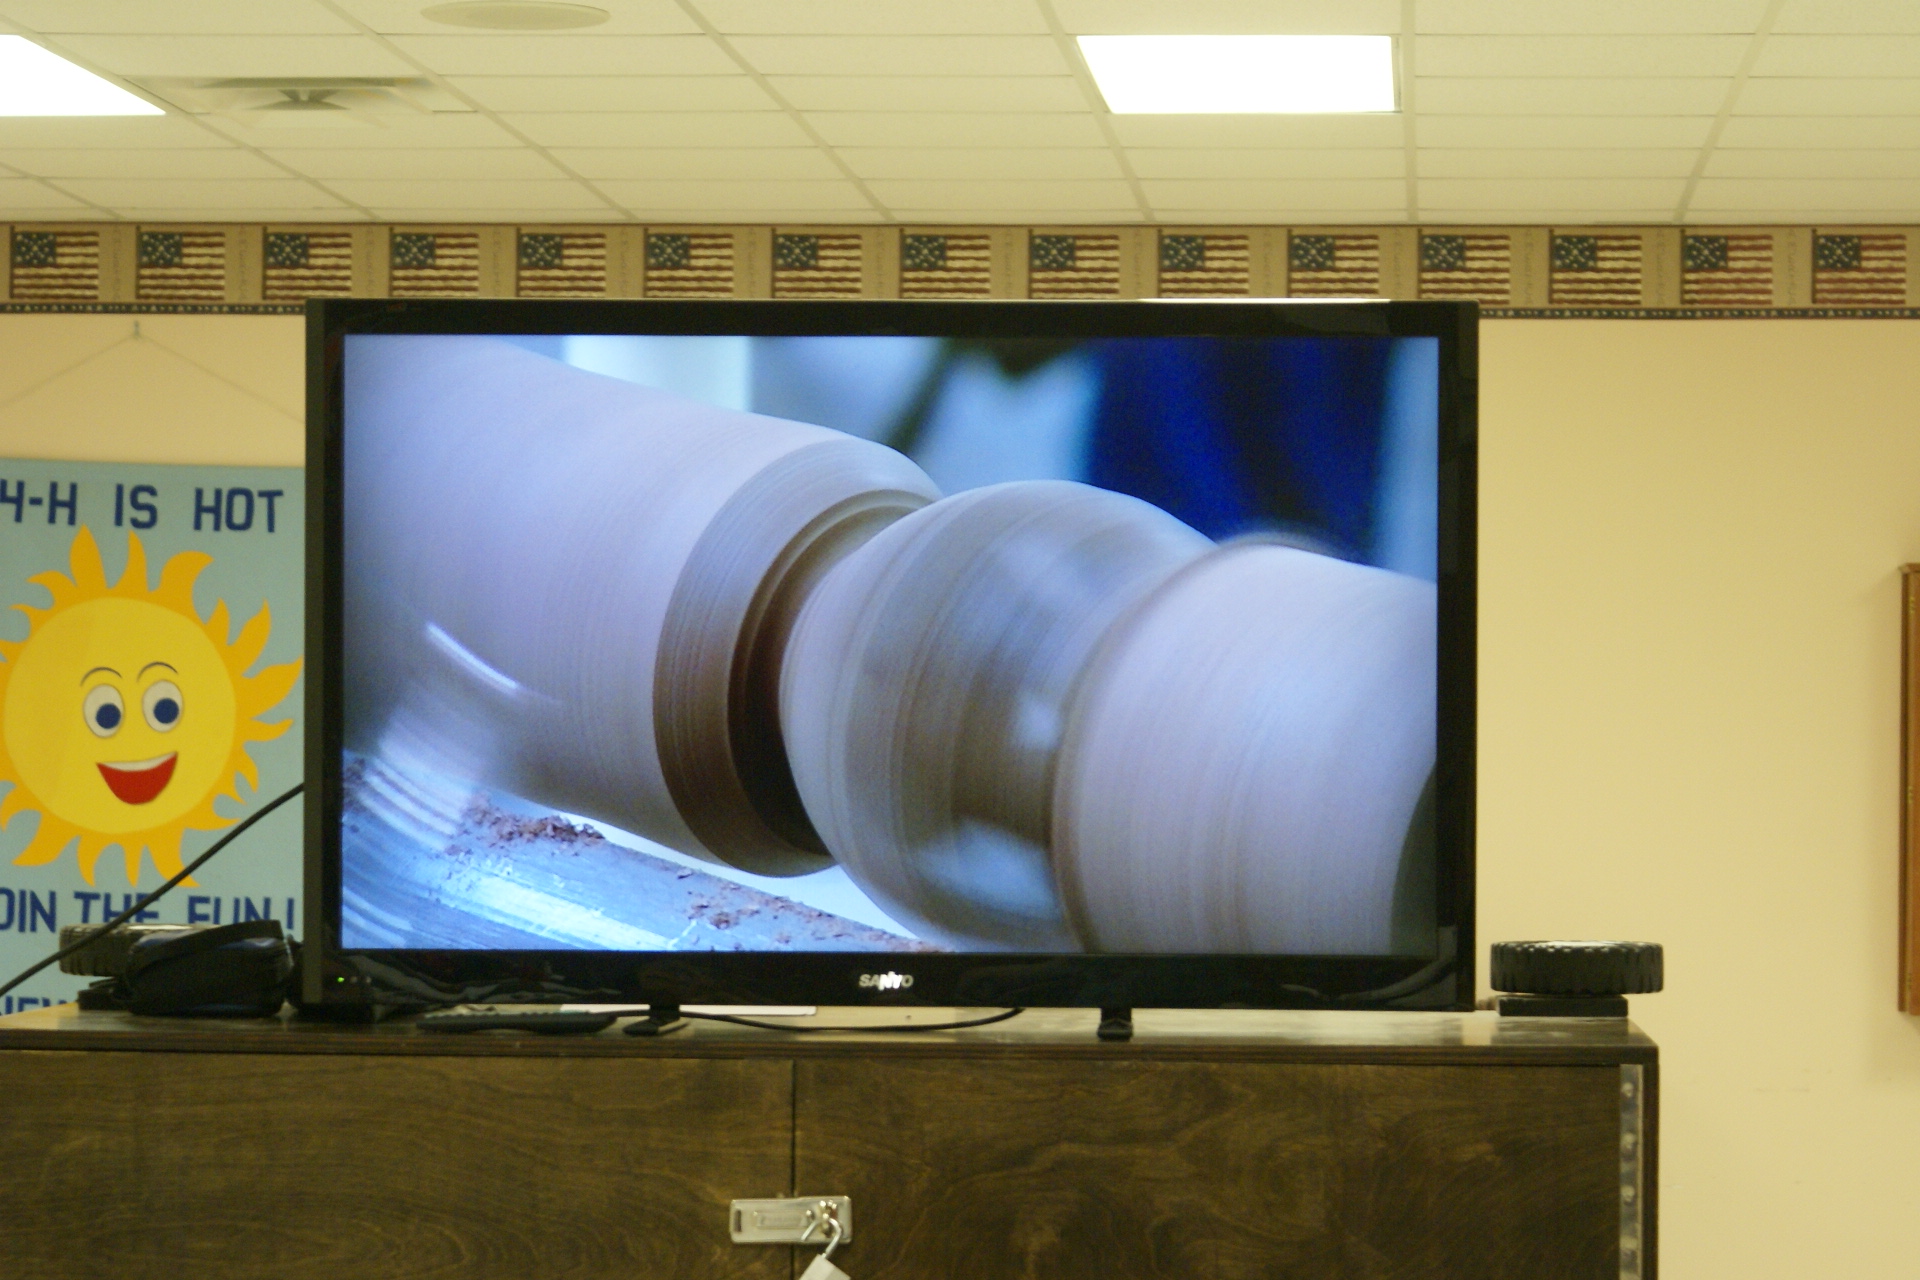
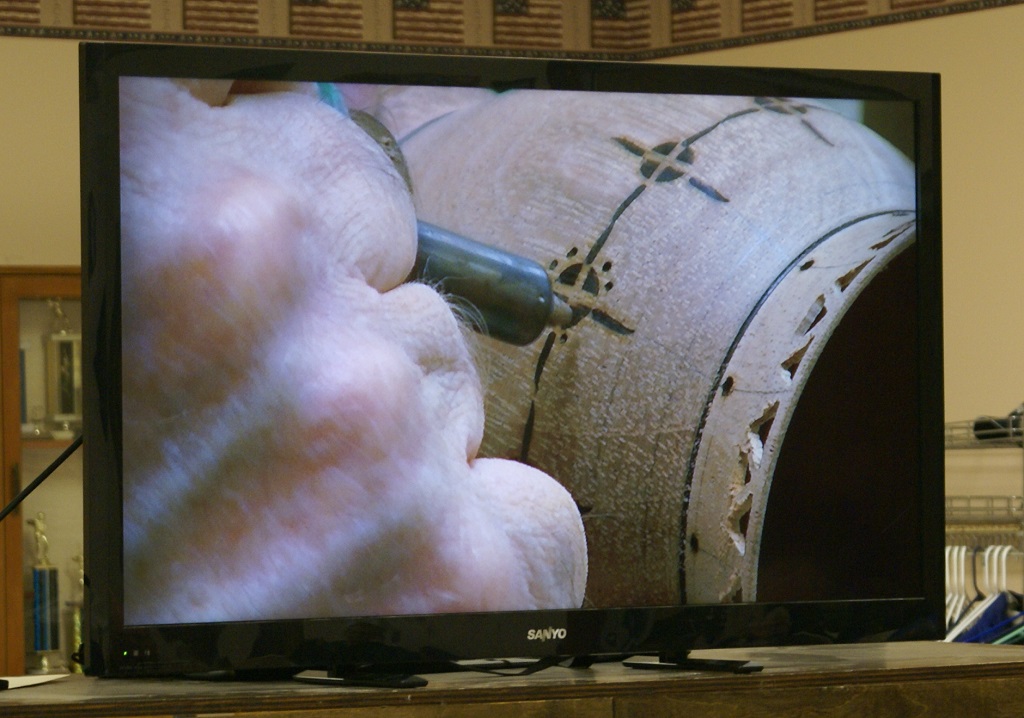
Todd overall technique and zoom-in on the cut makes the process easier to see


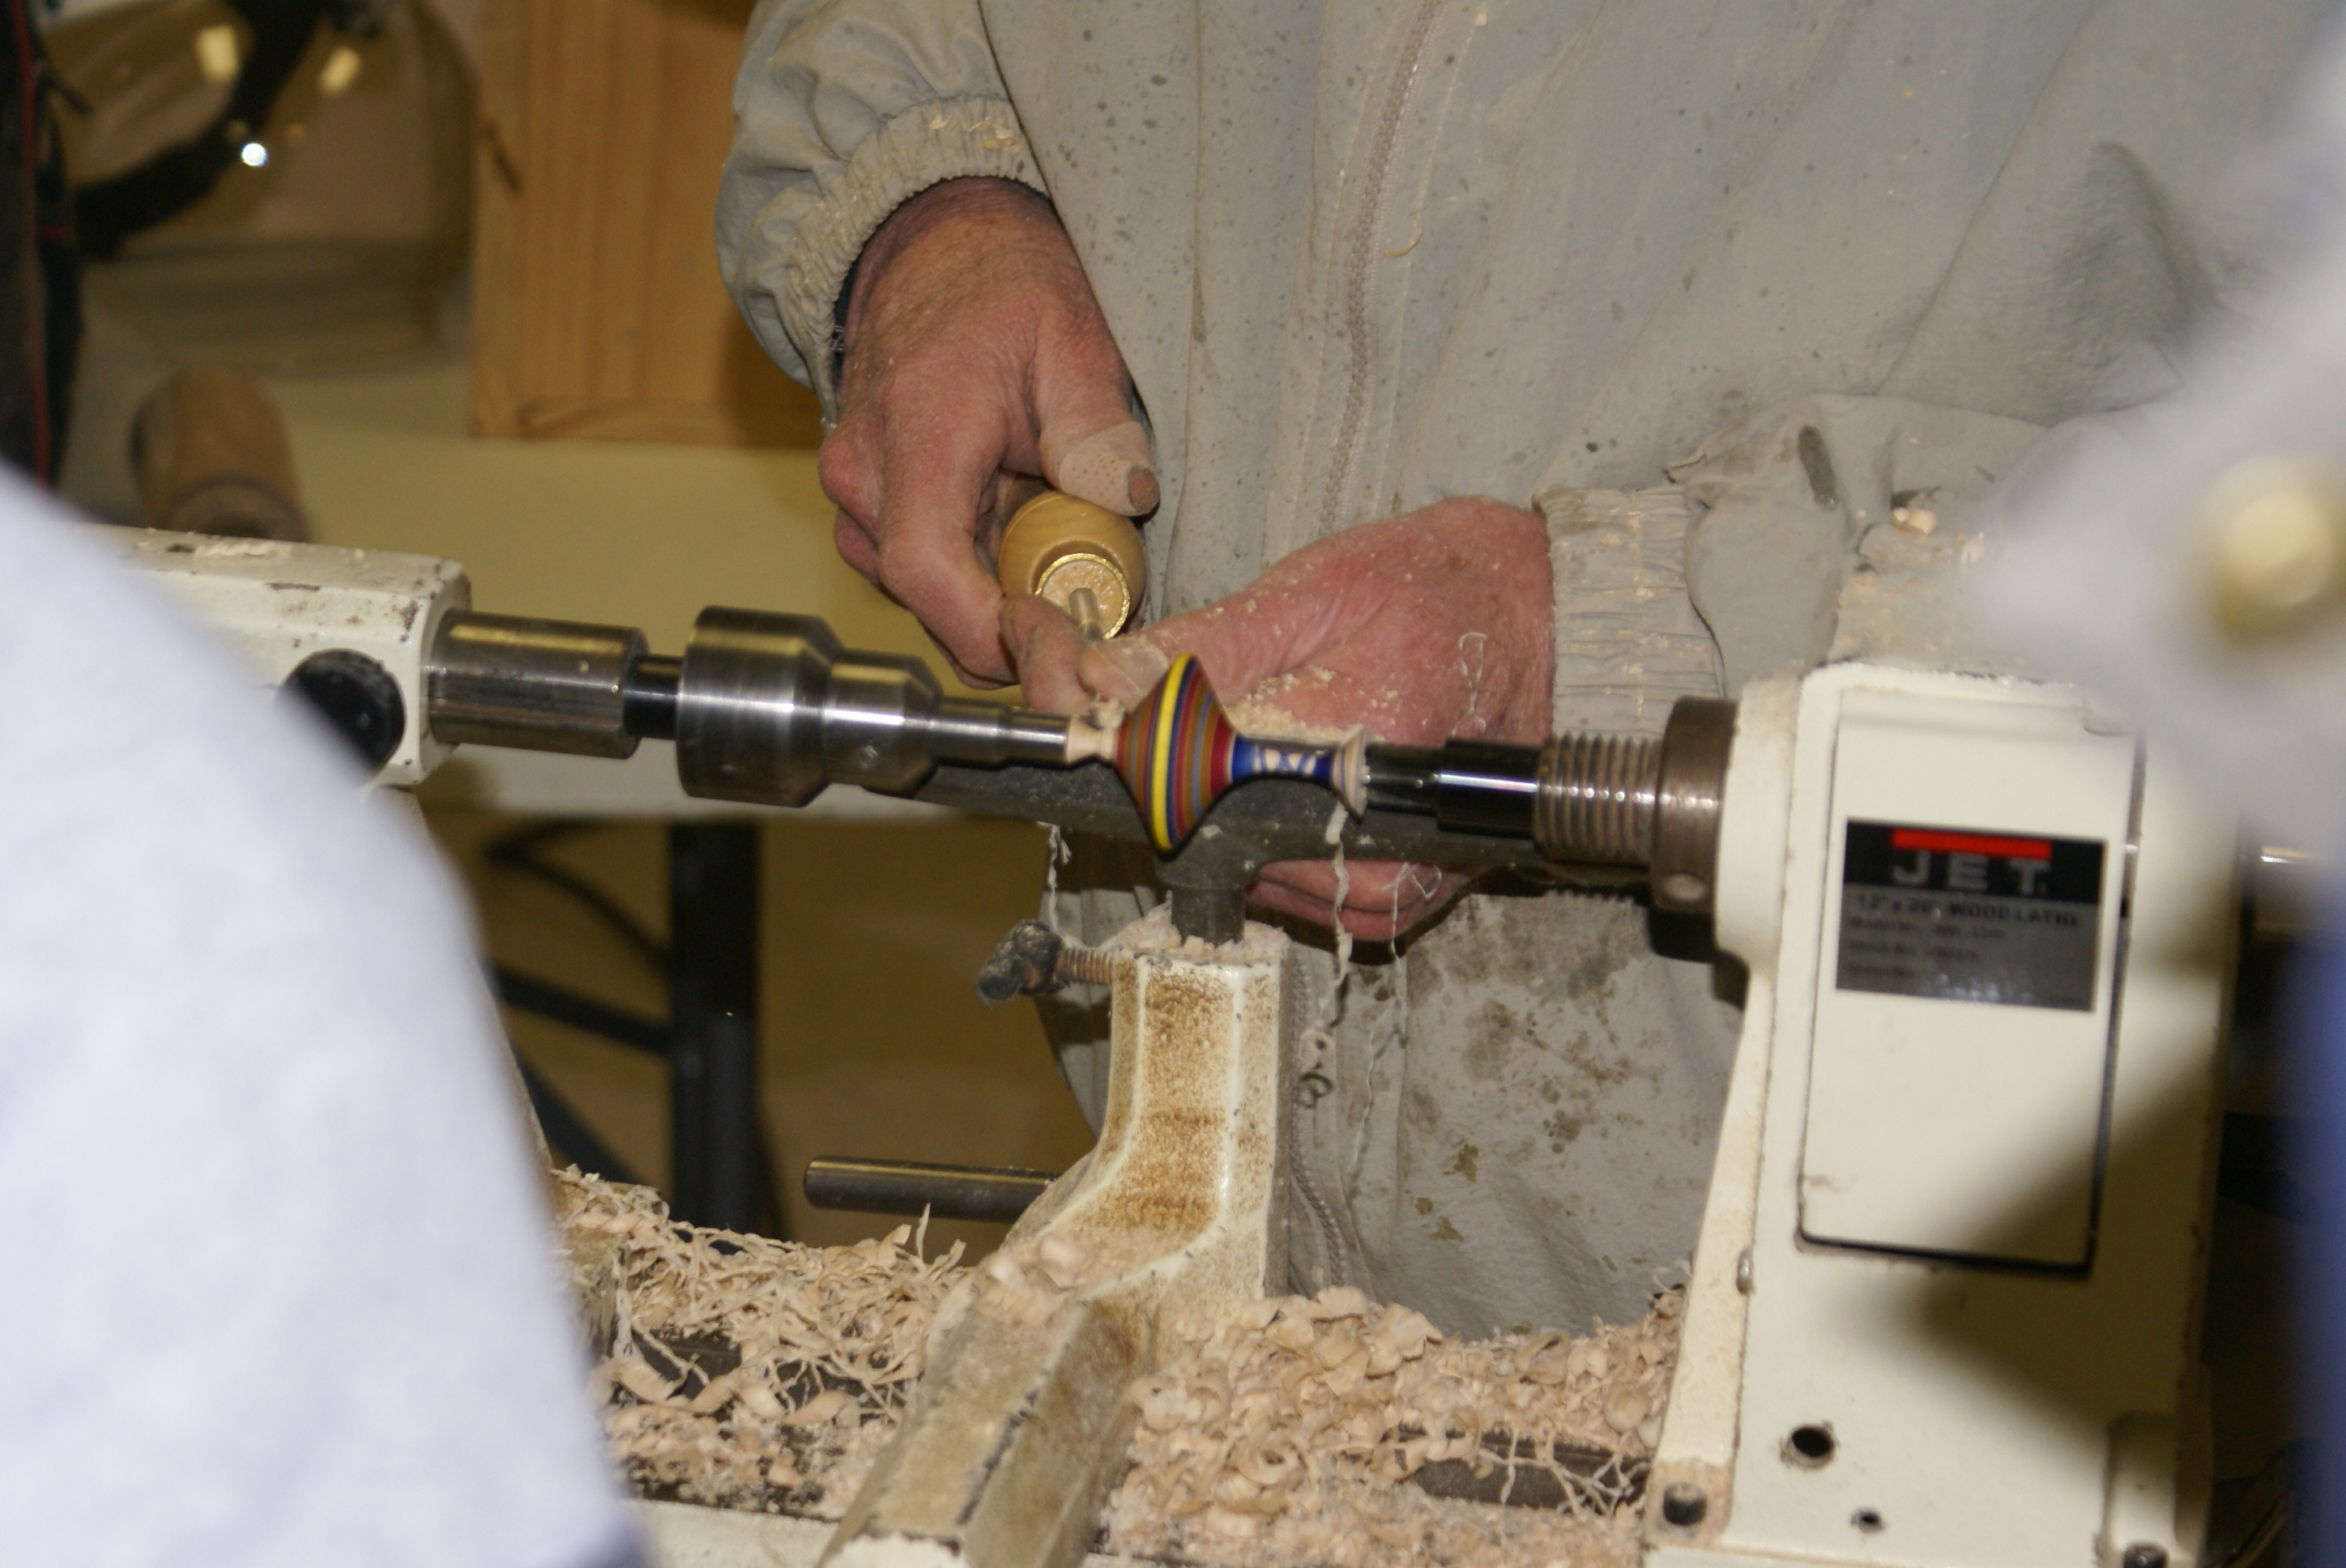
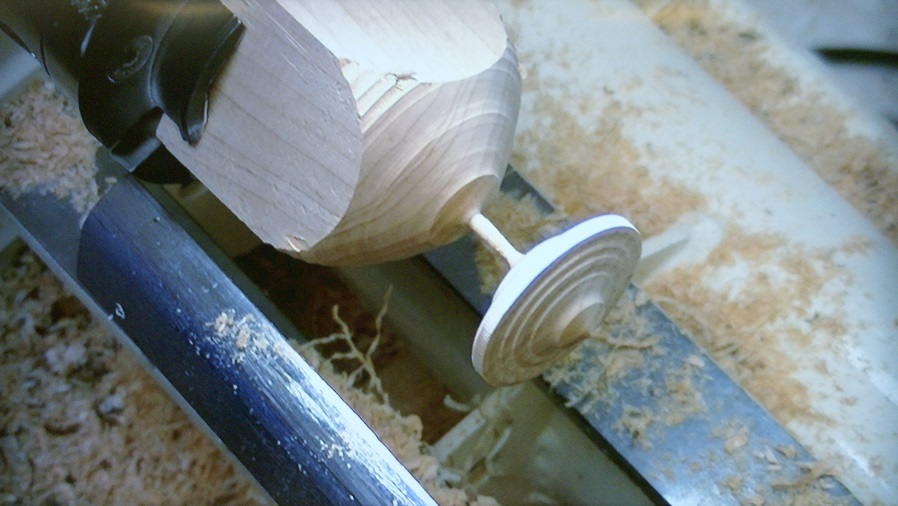
Close-up of the ball that will hold the snowman


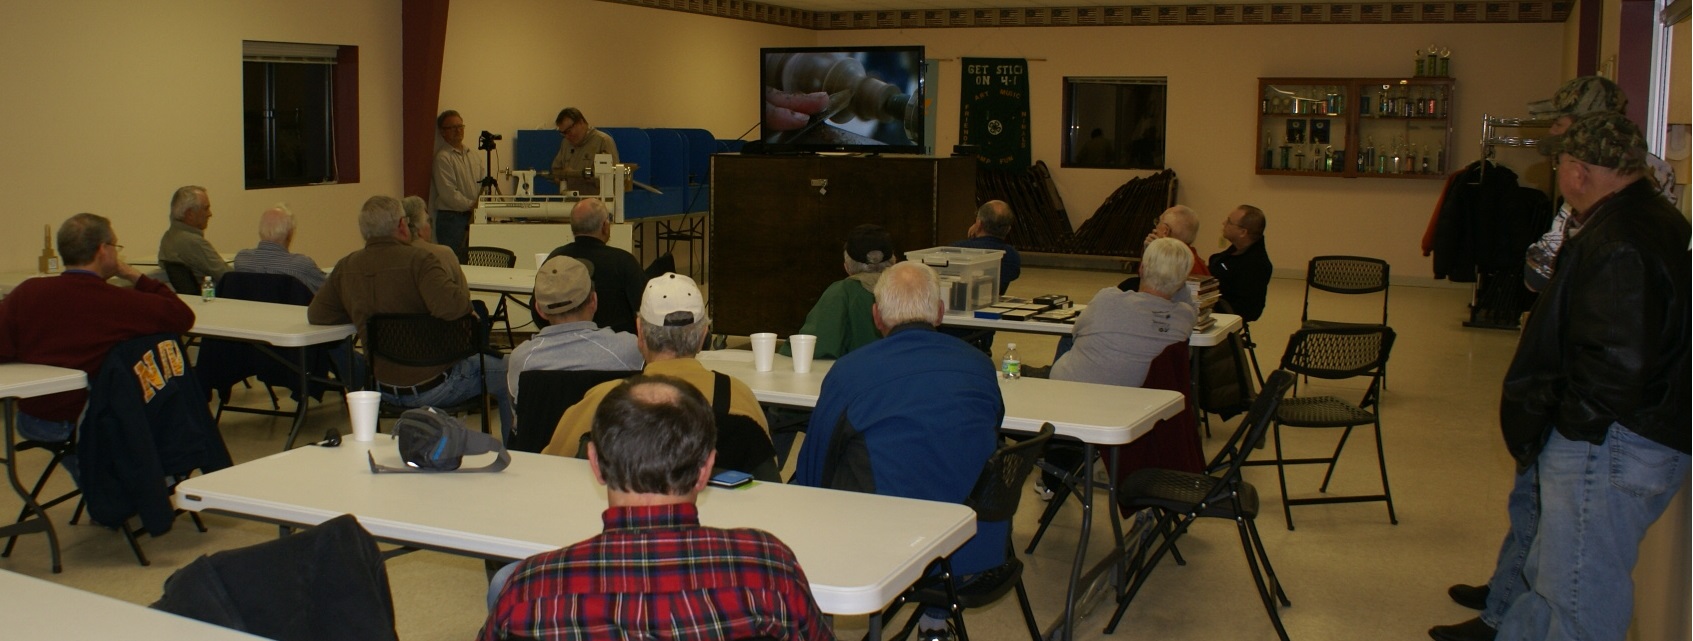
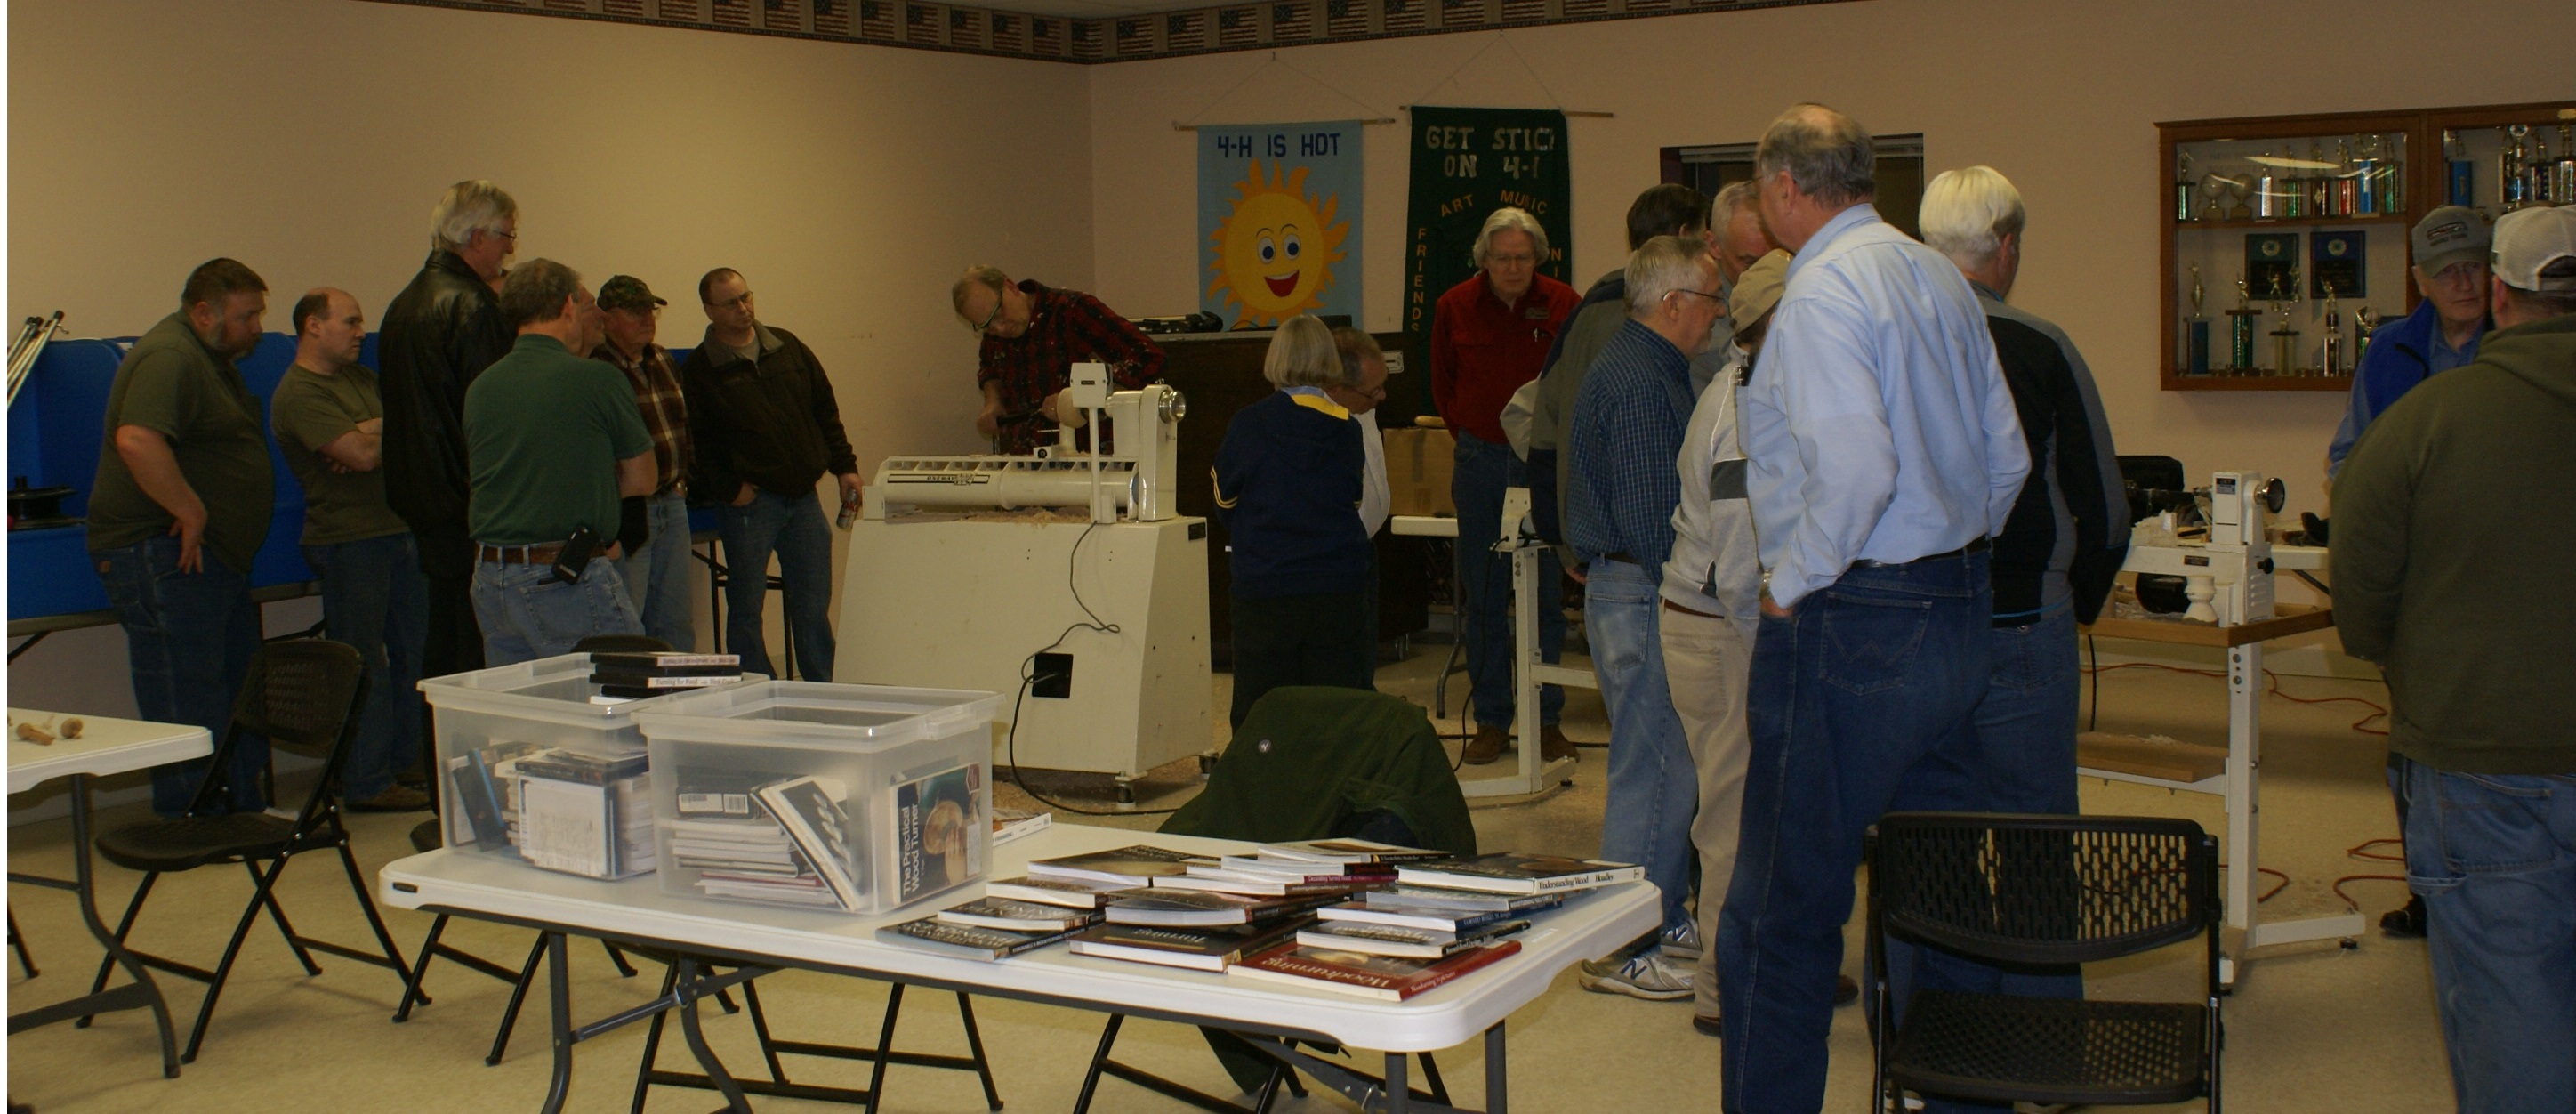
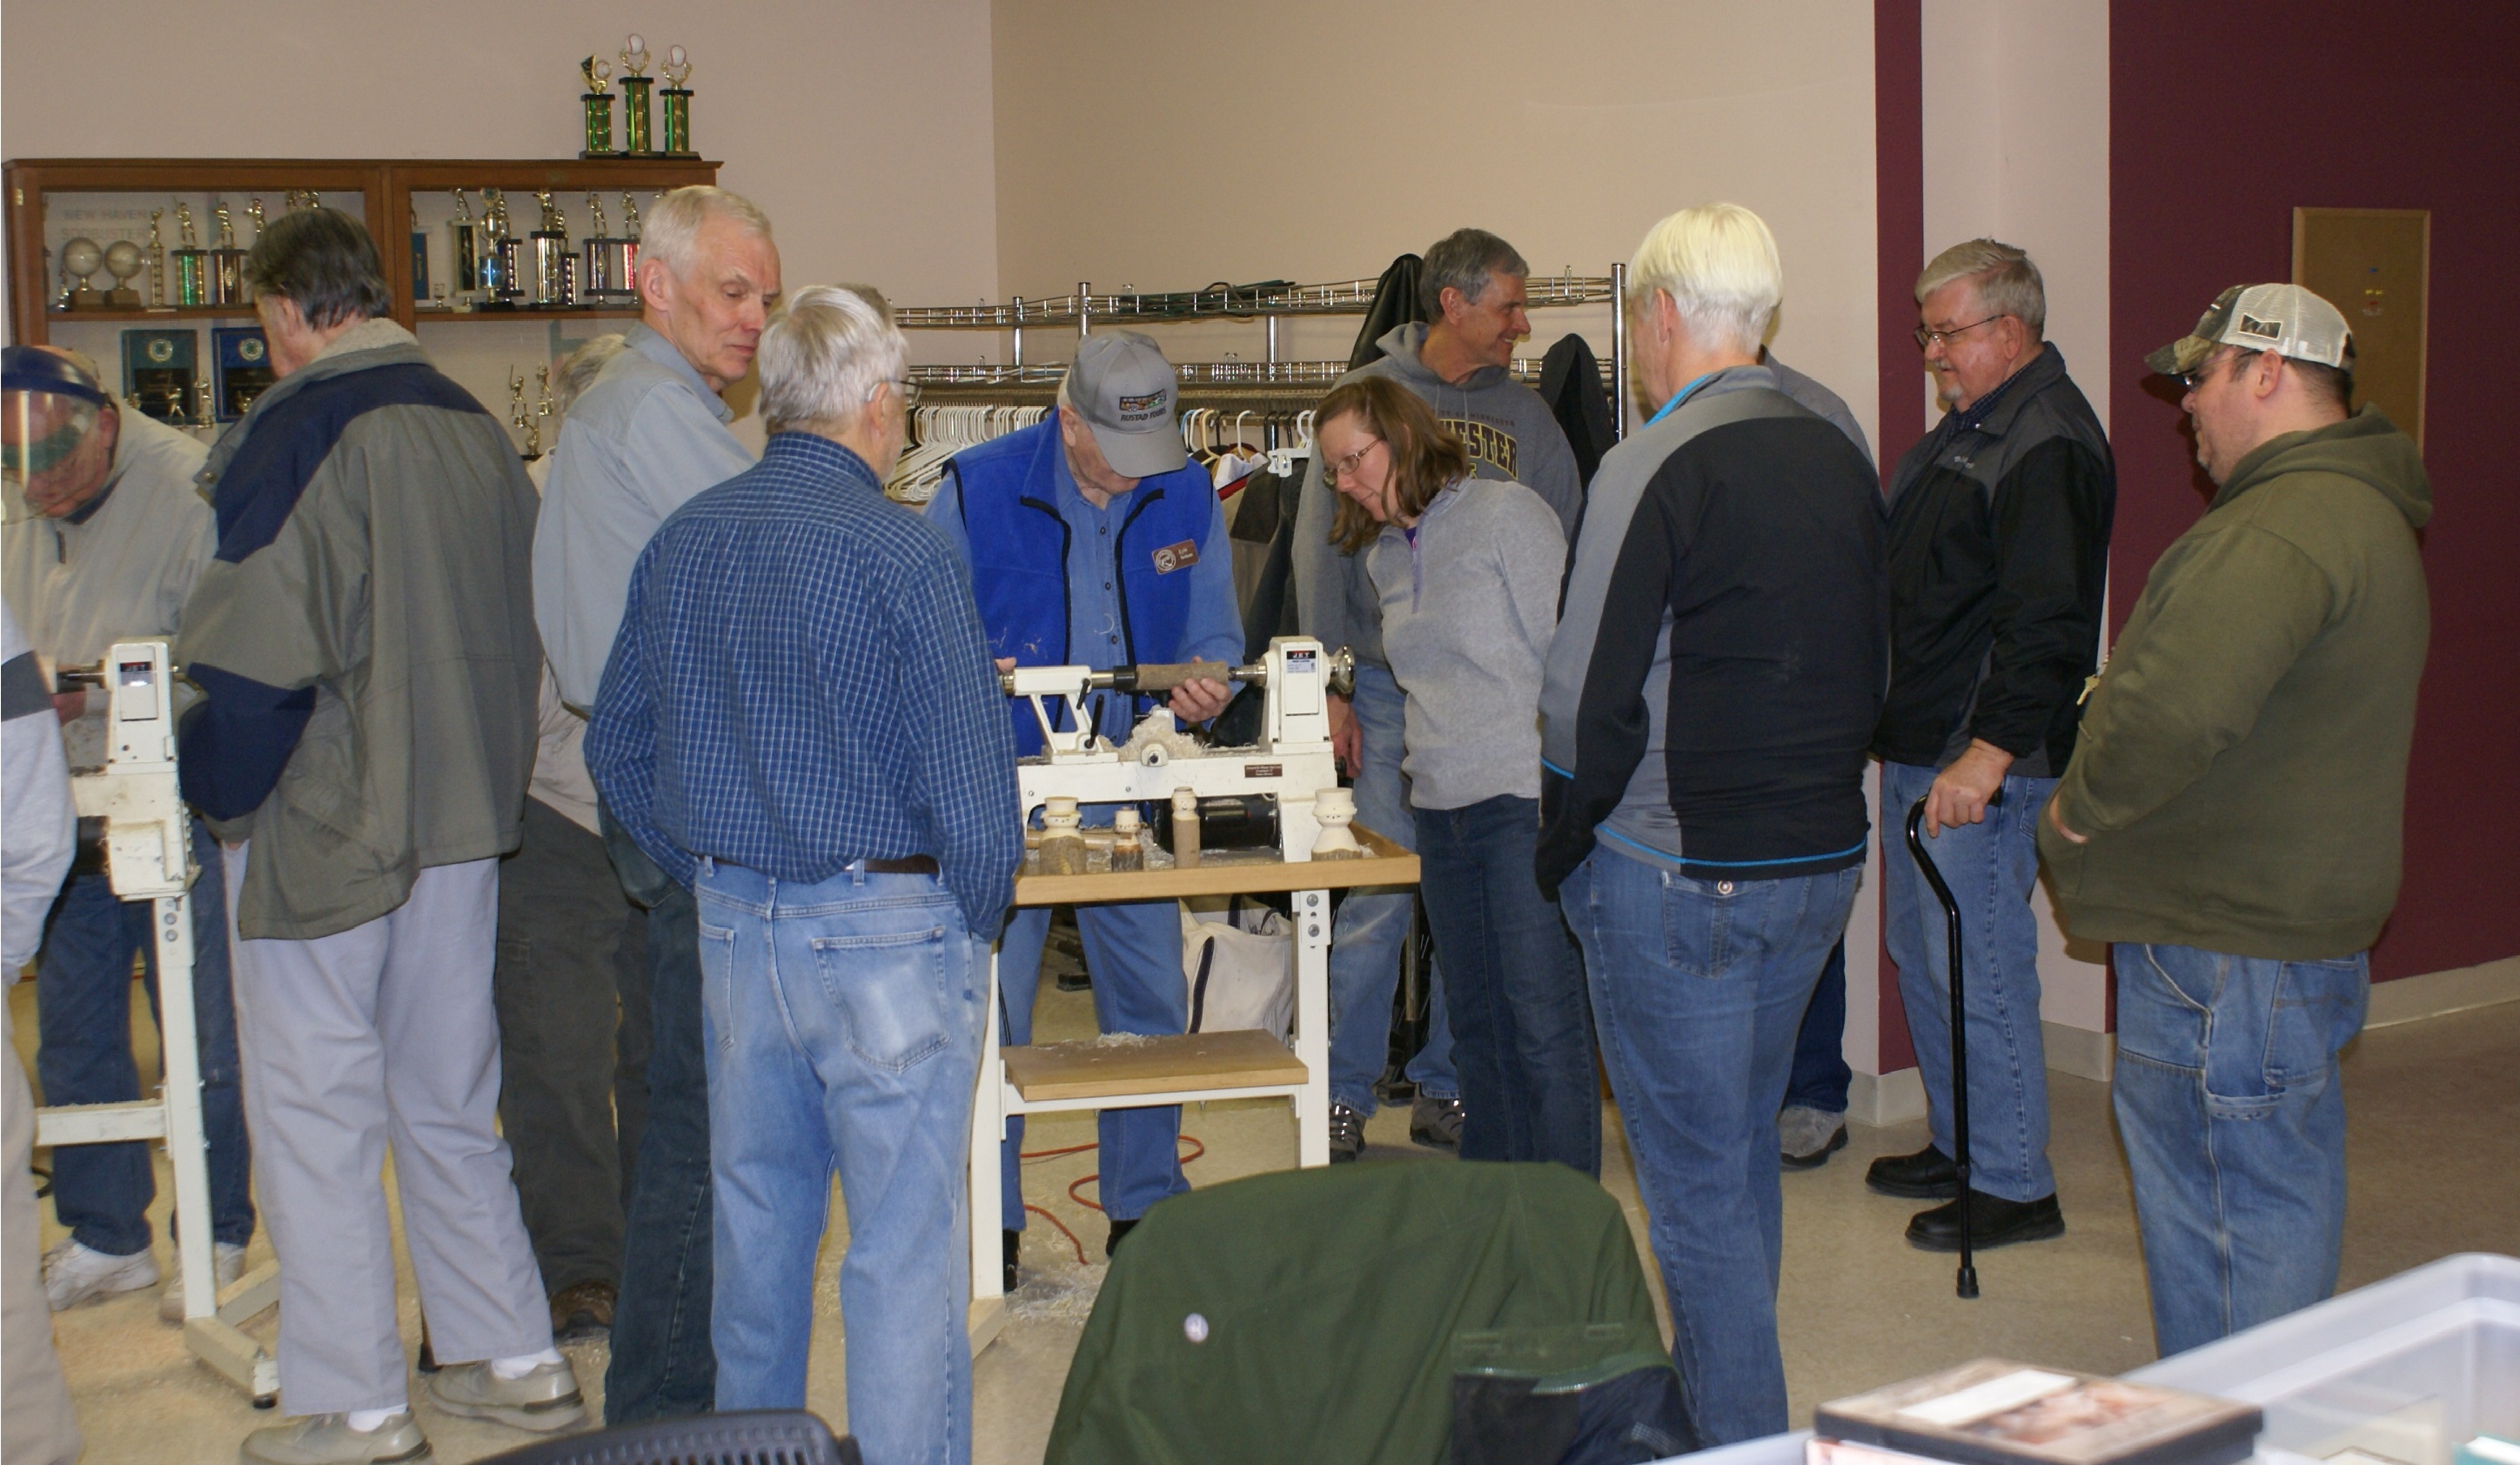
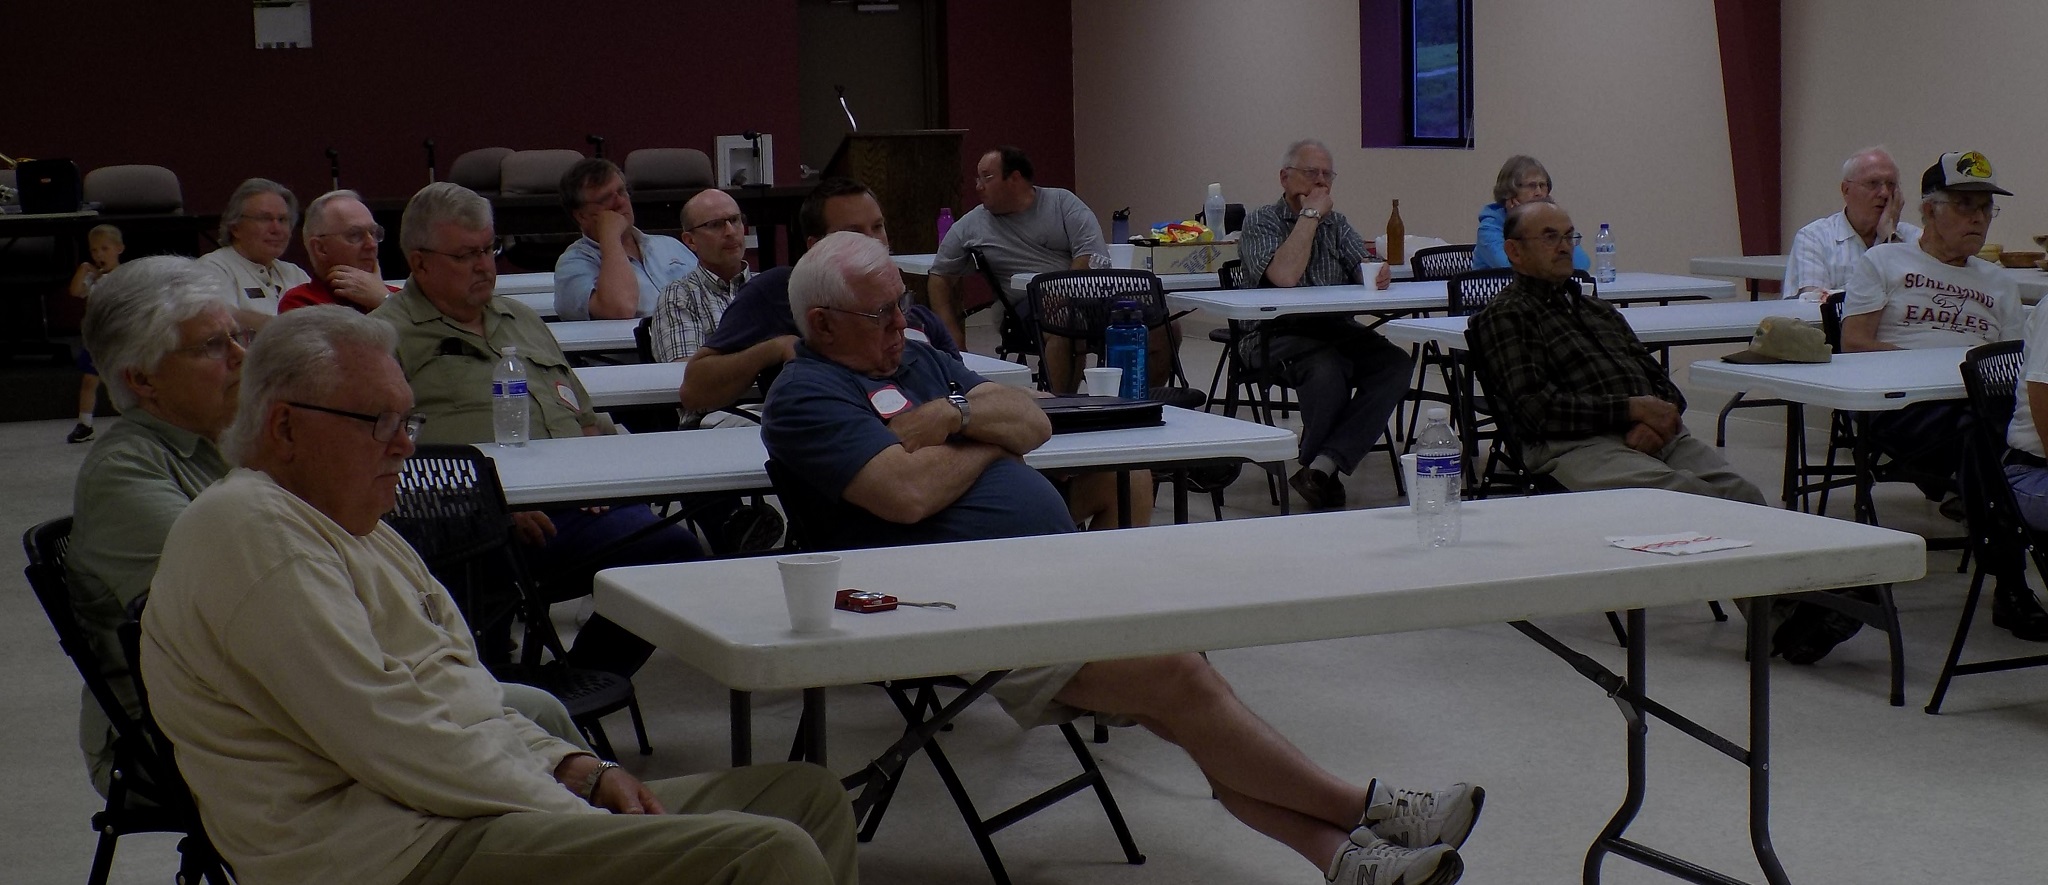
The crowd


We expect to see a lot of these on the Christmas tree next year.

Show and Tell
Pictures

February 25th
Public Demonstration Education

by Staff


Three turners on three lathes, each presenting different objects we turn when demonstrating in public.


On the far left, John Thorson discussed turning bowls when presenting publically.


In the center ring Dave Dunn educates the crowd in his approach to turinging the popular 'snap tops' for kids at the shows.


On the right Chuck Grimm had a number of ideas for new objects we could turn when demonstrating. Here we see the 'snowmen with hair' which are bound to be a hit.


Several members, some who have demonstrated publically in the past, tried their hand at a dry-run presenatation.

Show and Tell
Pictures

March 27 - 28th
ZVW Displays and Demonstrates
at the
2016 Rochester Woodcarvers Show


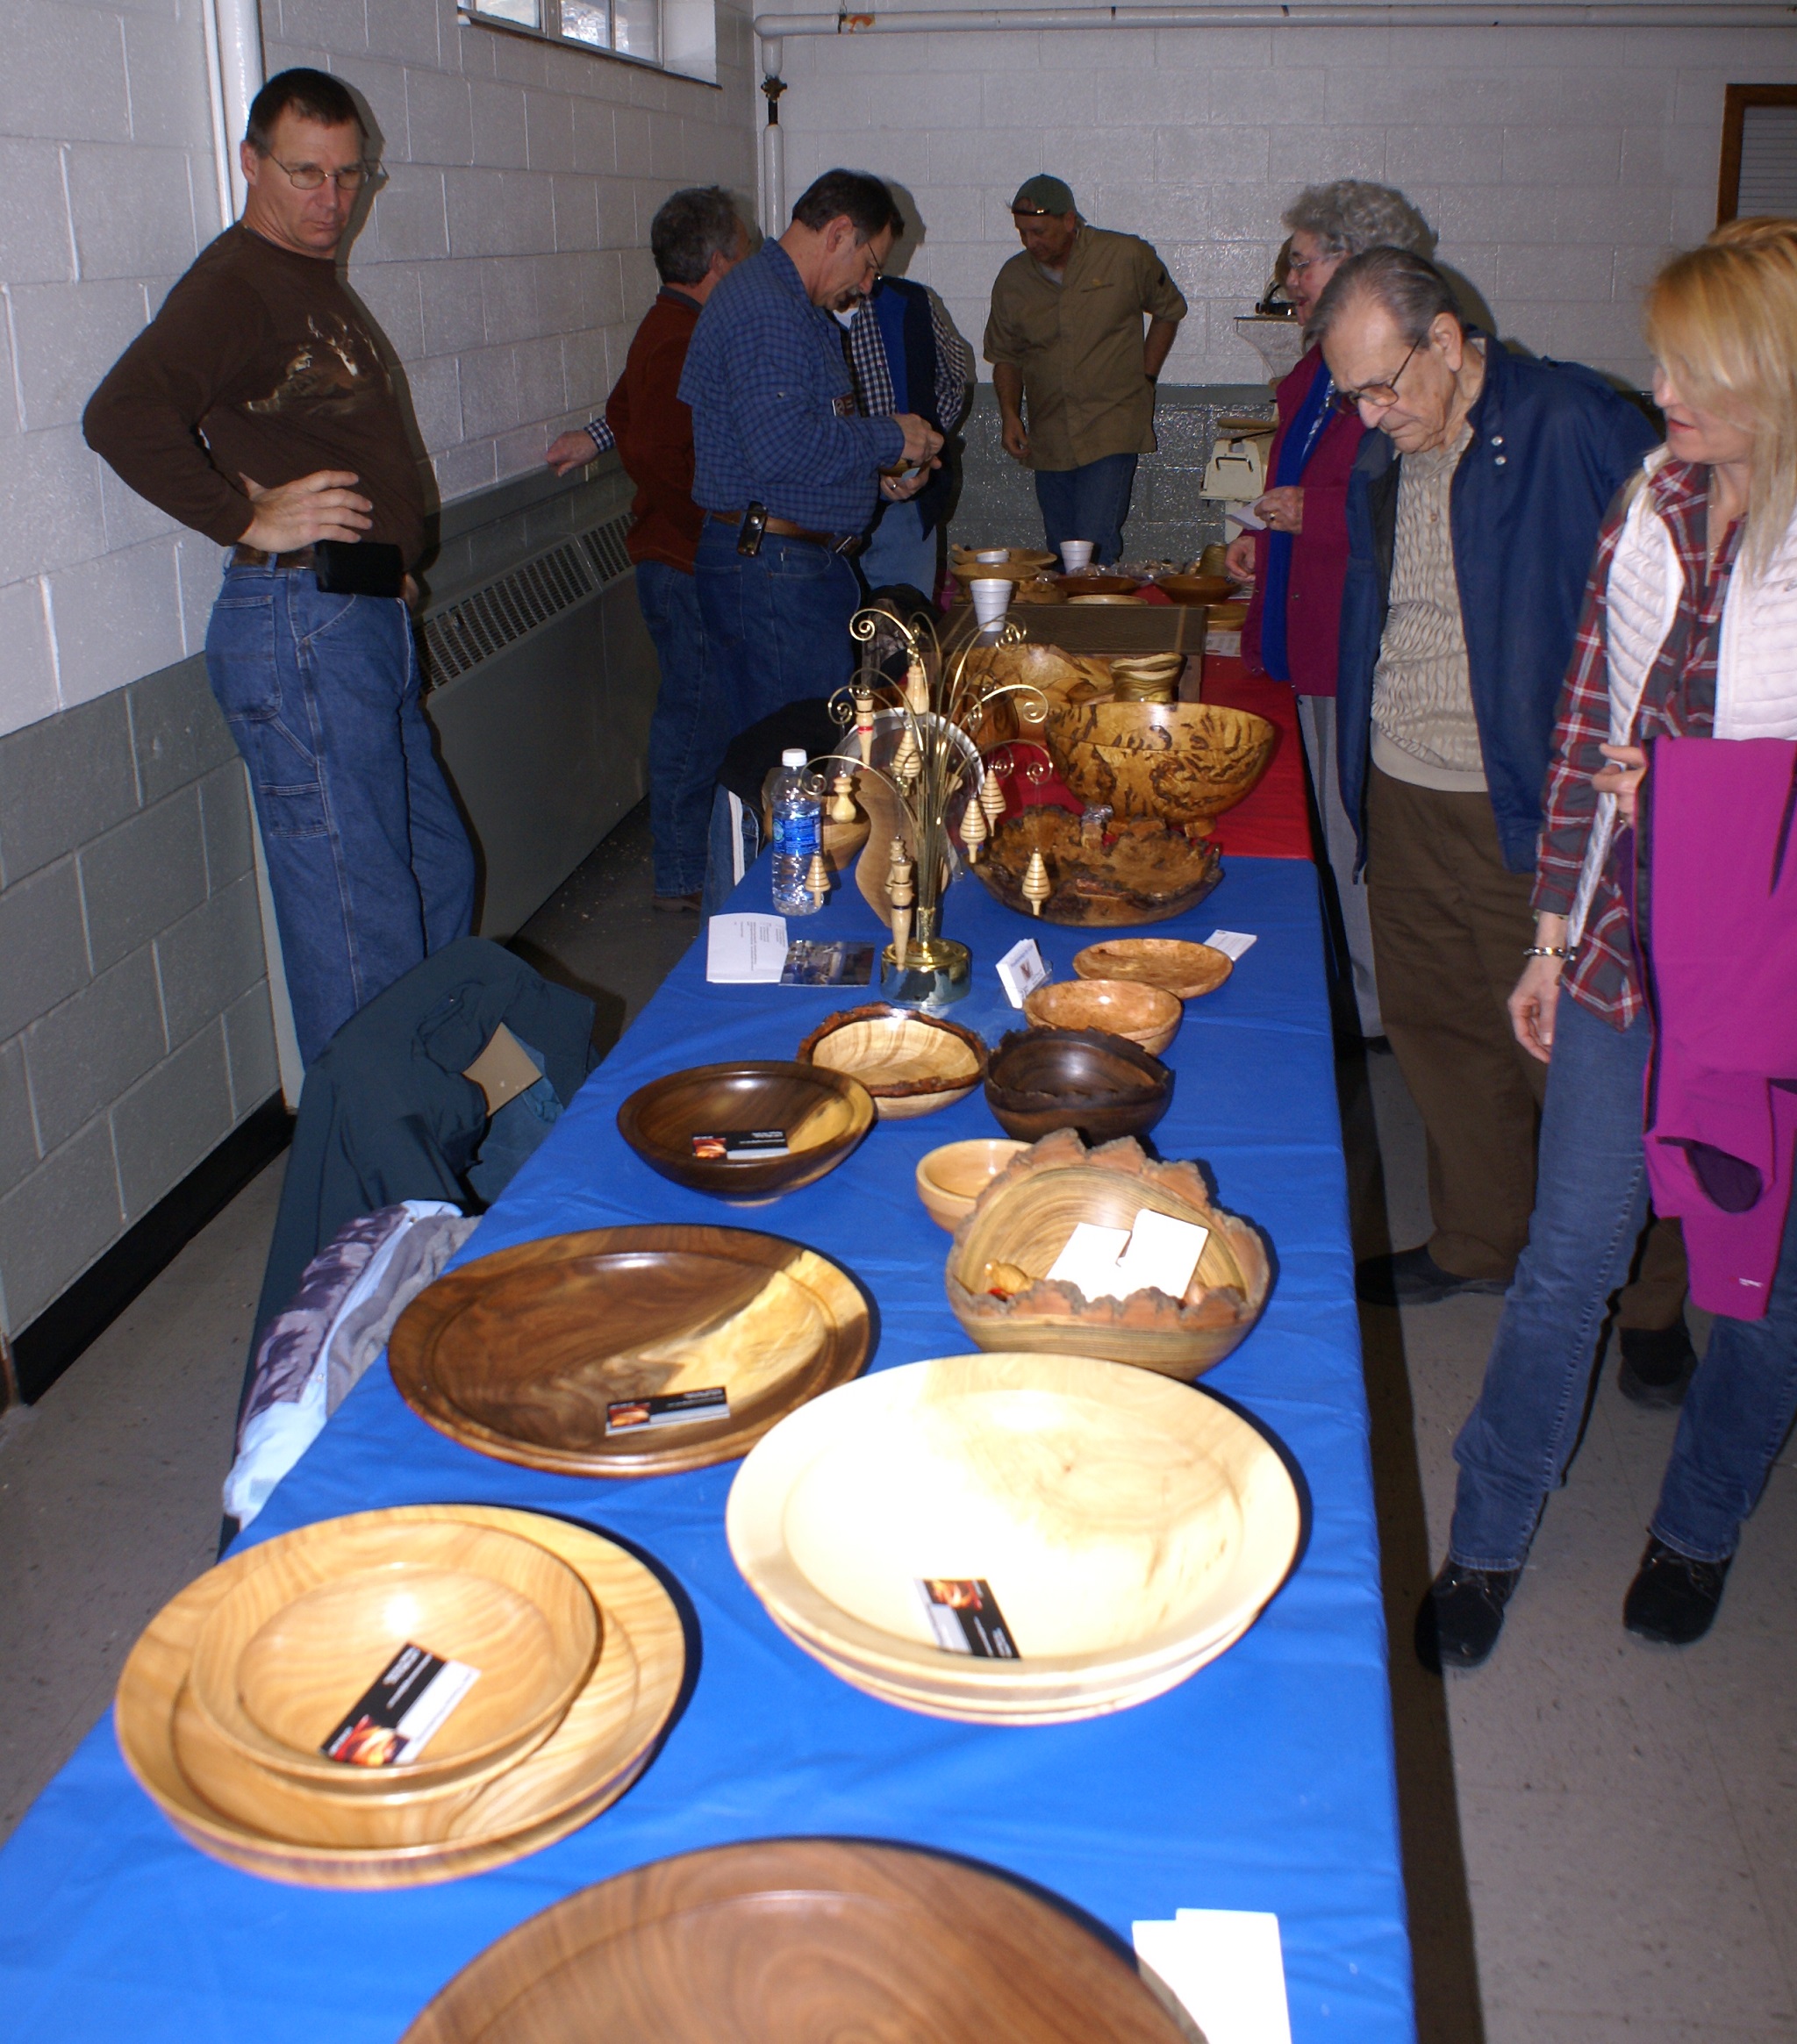
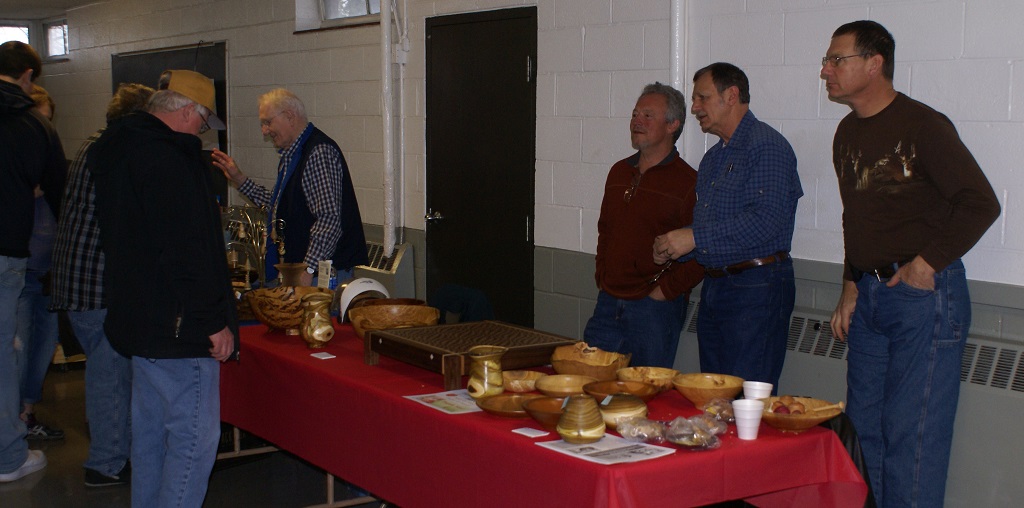
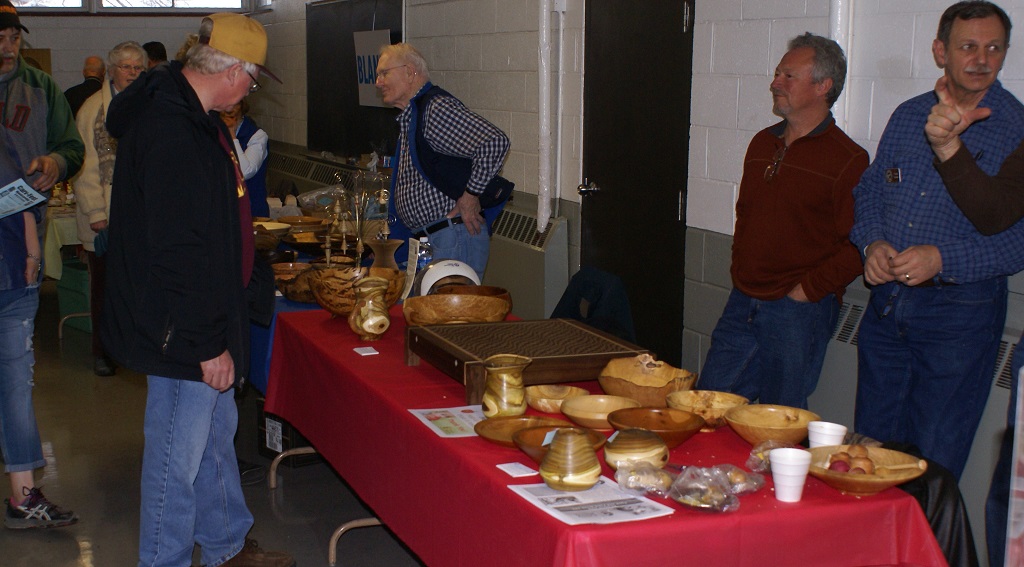
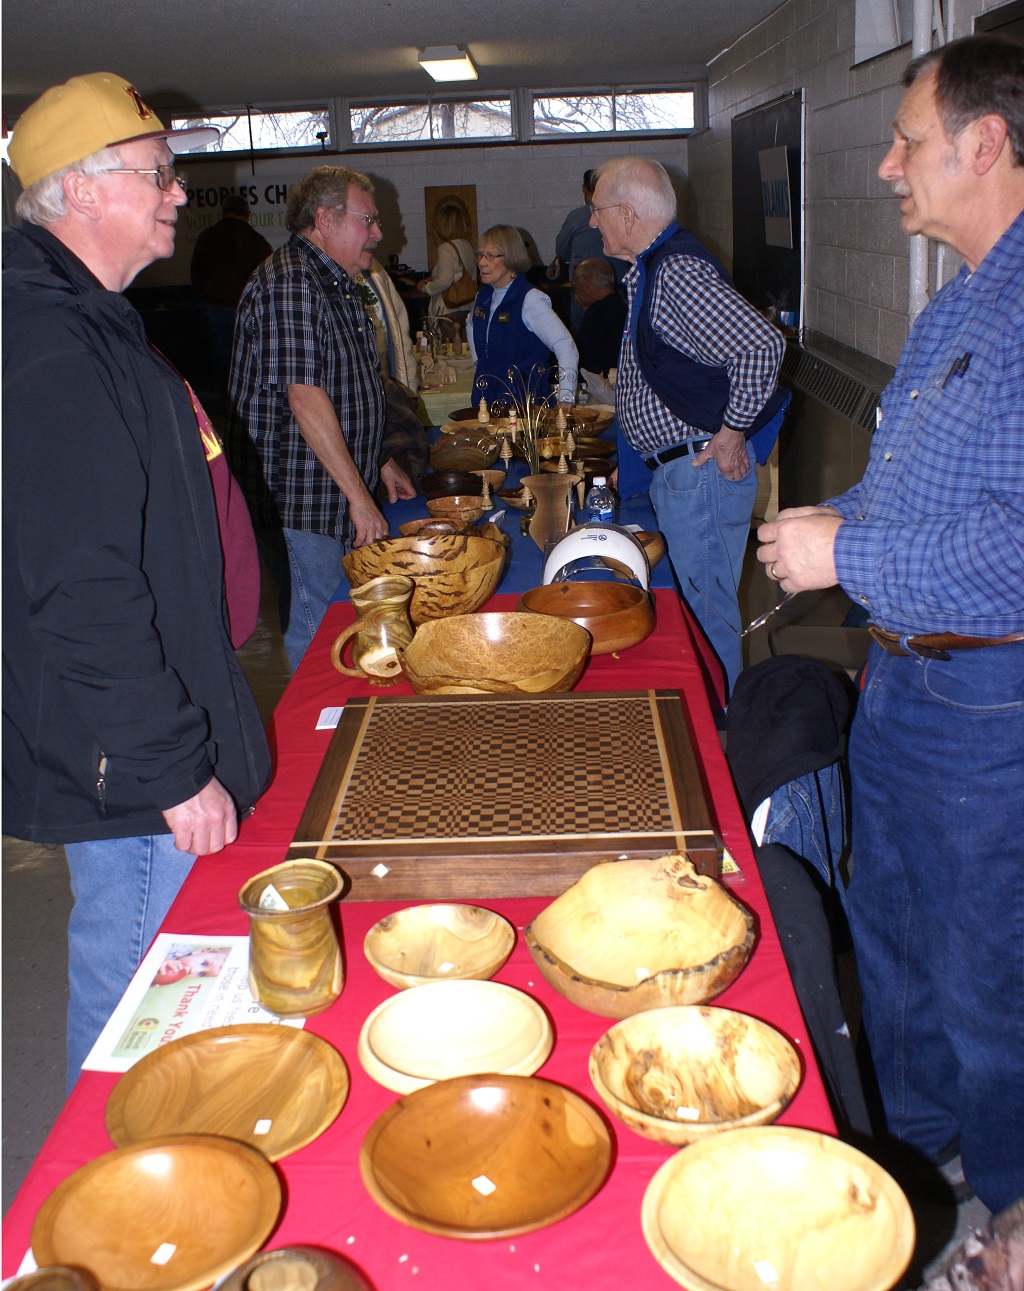
This year's table had quite a variety of turnings.


As always, we had a large number of visitors discussing our turnings, the woods and finishes as well as asking general questions about turing tools, machines and techniques.


We turned a large number of snap-tops, bowls, snowmen and these tooth fairy boxes to give away to kids and adults.

We don't have a photo of the donations made to the Woodcarver Club's raffle but our gifts were very well recieved.

Purchases of our turnings benefitting Channel One totalled over $250 this year, well done ZVW club members!

March 31st
Acrylic Pen Turning

Scott Shonkwiler


Cancelled
Snow Storm

April 28th
Special Guest

Wendell Ziegler

Guest speaker Wendell Ziegler.


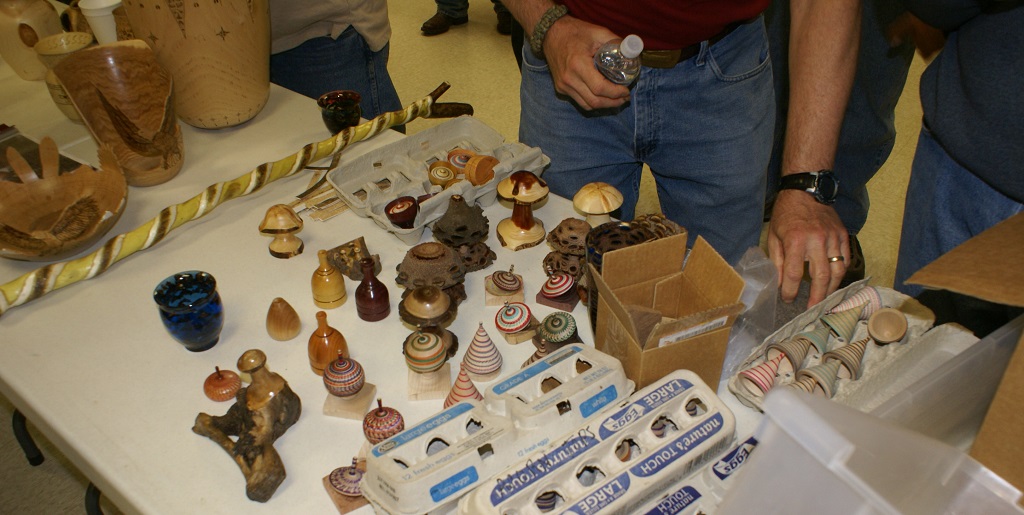
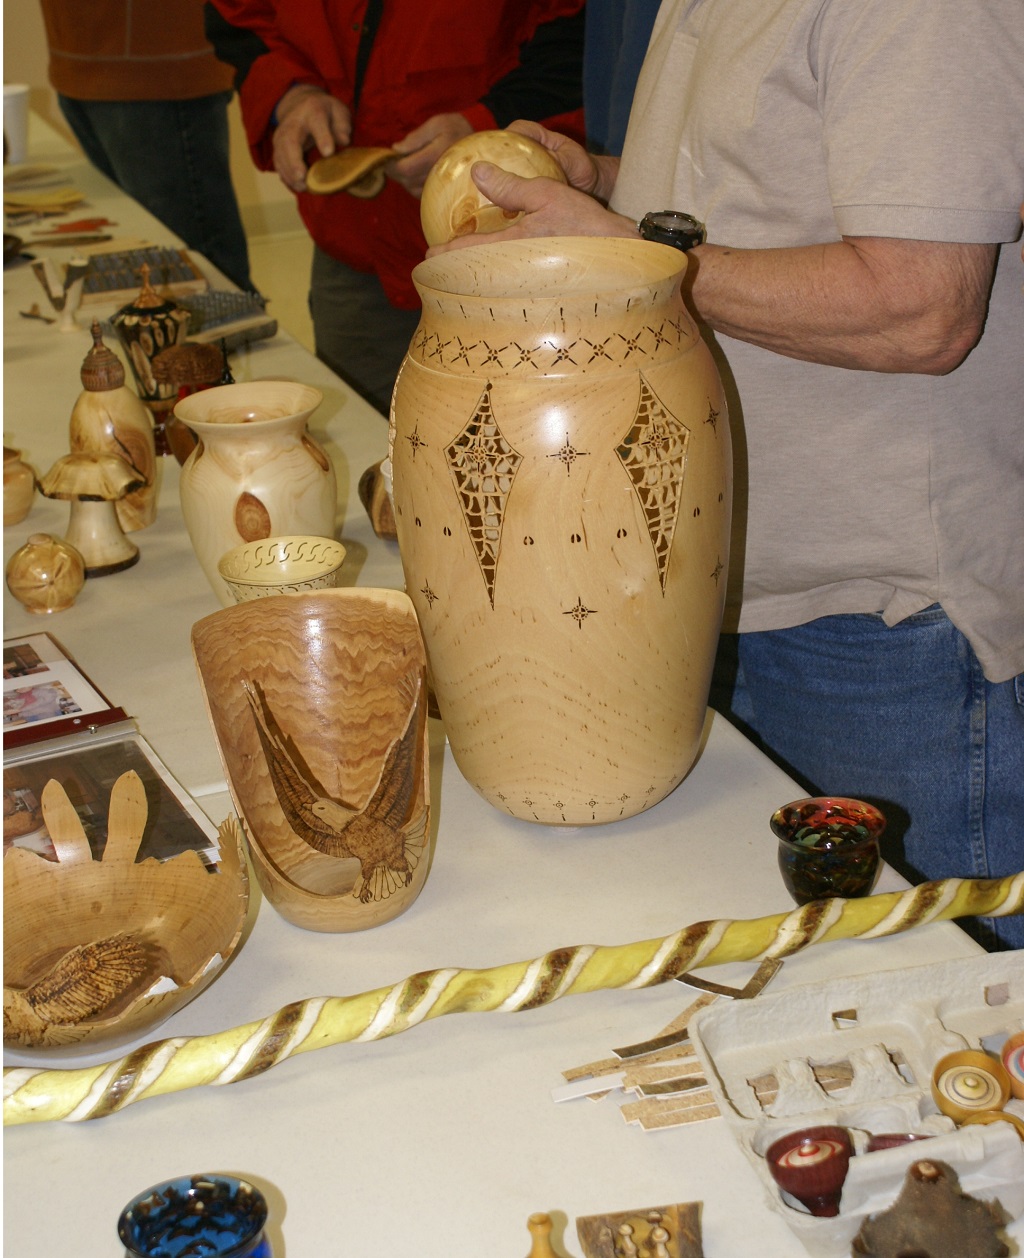
Wendell brought with a wide selection of his turnings and discussed the process he uses to design and produce each style of object. From tall hollow forms with elaborate peircing, carving, pyrography to tiny tops with chatter work and bright colors Wendell had something for everyone.


Wendell demonstrates some simple piercing and pyrography to enhance a small vase.


Wendell stressed the need to have items for sale in your booth for those at the show or craft fair that want to pick up a token of the event. In this part of the demo he demonstrates his technique for turning snap-tops include those he sells with their own storage box.


We had a big turn-out for this event and a great question and answer period with Wendell.

Show and Tell
Pictures

May 26th
Green Wood Turning

by John Thorson

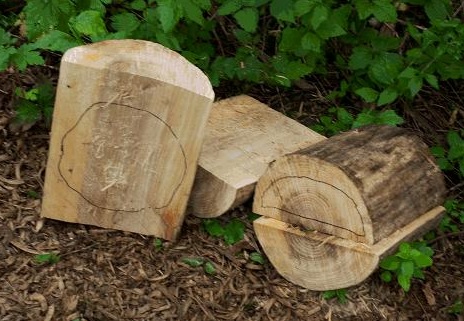
John started his presentation with a discussion of planning your processing of a log to give you a balanced grain in your finished piece to reduce uneven warping as it dries down.


Additional information on green wood processing for turning
PDF

Live turning demonstration went from green wood log to finished bowl in one turning.

Turning to a consistent wall thickness of one quarter inch or so was suggested to be one way to reduce the chance of the piece cracking as it dried down.

Tool techniques covered in an earlier presentation
PDF

Warping can be minimized by turning to a thin wall thickness and balancing the grain of the piece. Minimized but not eliminated, a green wood turning is going to warp as seen here in some examples passed around durning the presentation.


That is actually part of the attraction!


Another good turn out for this month's meeting.

Show and Tell
Pictures

May and June
Education Sessions
Ten Principles of Clean Cutting
American Woodturner magazine
February 2016 edition
article by
Kip Christensen


Article used for May and June education sessions

Principle 1: Tool Sharpness
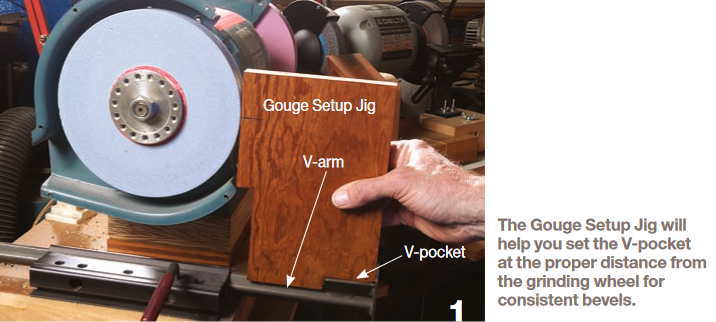
There was some discussion on making the sharpening process quickly and accurately repeatable.

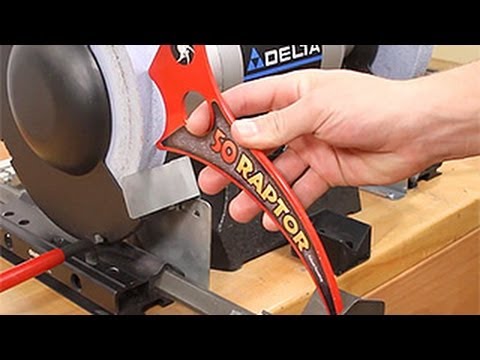
Use of a purchased jig for quickly resetting grinding angles was one suggestion


A simple hand-made set of spacers was another suggestion
Kirk Deheer article Sharpening Demystified where spacers above are explained

Principle 2: Grain Direction
The lathe is a power tool and as such it can be tempting to use that power to cut the wood without regard for the grain which usually requires coarser grits of sandpaper to remove the rough surface these techniques leave behind.

Visual aids, discussion and hands-on comparisons were used in this part of the education session in both spindle and side grain orientation.

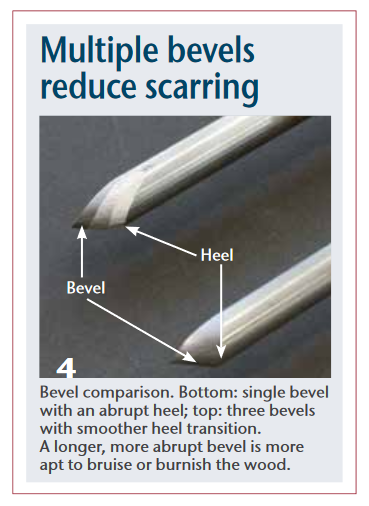
Principle 3: Bevel Angle and Length
The common bevel angles for spindle gouges, scrapers, bowl gouges, skew chisels, etc. can be a confusing topic for the new turner. Add the amount the bevel is swept-back and how that affects the nose profile of the tool and it can all get to be too much. As in the article we used some common angles and bevel angles in our education session discussing the how-and-why behind these select few.

We did take a bit of a tanget in our discussion of why one would grind away the back-bevel to both eliminate this scarring that can be caused by this sharp surface but also to turn a tighter radiused curve with our tools.

Principle 4: Bevel Contact
People talk about floating the bevel today rather than rubbing the bevel to make sure everyone knows that too much pressure against the wood is a bad thing. Too little pressure and you increase the odds for a catch. We used a clip from a Glenn Lucas video to clearly show what part of the bevel is rubbing, great shots of all the common cuts on these DVDs.

Principle 5: Cutting Arcs
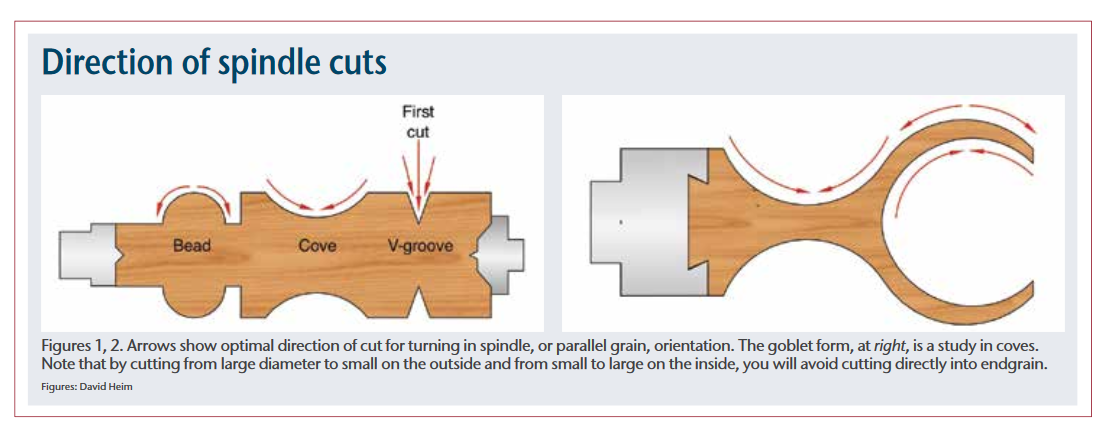
There are some who say every cut done on the lathe is either a bead or a cove. A smooth even curve in spindle or side grain orientation is always pleasing to the eye. Hands-on session used coves and beads in spindle orientation but this discussion was also covered again when we did some work on bowls.

Principle 6: Shavings
Proof of clean cutting is usually thought to be in the long curls of shavings coming off the tool. Keeping clearance so the shavings can escape the tool, taking an even and not too aggressive cut and other principles of the shavings we want when cutting cleanly were covered in this session.

Principle 7: Tool Clearance
We have all burned the surface of the wood when not providing enough tool clearance when using the parting tool. Discussion on this topic highlighted the many other situations where we often forget to have enough clearance for the tool to cut cleanly.

Principle 8: Amount of Cutting Edge Applied
A roughing cut removing a significant amount of wood in one pass is a prime example of a very aggressive cut, a cut which cannot be considered to be clean. Going to a smaller gouge is one trick we all use to take a finer, cleaner finishing cut. We discussed easing the final profiling cuts with our larger tools, taking a less aggressive cut engaging a much smaller percentage of the cutting edge as another way to be aware of the amount of cutting edge applied to cut more cleanly.

Principle 9: Feed Rate
The suggestion that we should let the wood come to the tool is a way of suggesting that too fast of a feed rate is going to roughen your cut. Even a sharp tool will rip at the wood if pushed too fast. Very little debate on this one.

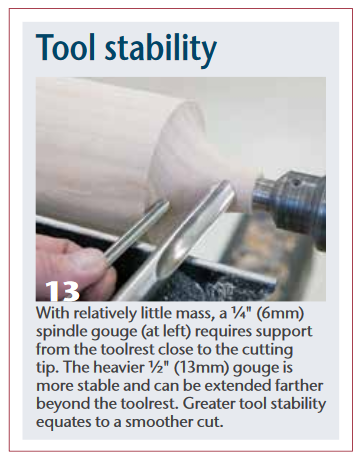
Principle 10: Tool Stability
Needing to have 5 inches of tool handle leverage for every one inch that the tool hung off the tool rest was news to some. It is hard to defend this suggested rule since it ignores the diameter or thickness of the tool itself. Working examples of smaller versus larger gouges make it obvious that on this topic you need to know your tool, your wood and your capabilities.

If you are getting a poor cut with a sharp tool, especially if you are getting vibration, consider how stable your cutting edge is.

June 30th
Epoxy and Inlace Enhancements

by John Thorson

John referenced a Kurt Hertzog article on Fixing a Hole in the June, 2016 edition of Woodturning magazine in this presentation on the use of epoxy along with inlace and other filler materials to enhance our turnings.


Woodturning magazine on the web

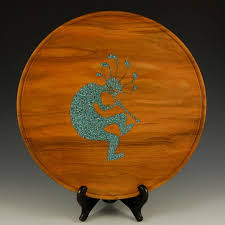
John has a lot of rough turned bowls to fix so we weren't going to see the artistic side of inlace as in this platter

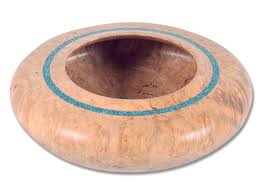
or closed form

The good news was that the techniques used for the epoxy and inlace are the same.

Epoxy is naturally thin and most common mixes add a thickener to give the glue some body. John used unthickened System 3 epoxy to get it to flow into the cracks and voids in the wood.

There are times when a crack is just never going to look very natural or visually pleasing no matter what colors of fill you use.


In other cases the crack can look natural enough to be hard to notice when filled

In this example finely ground coffee, thorougly dried, was used to fill a void left by a bark inclusion.

Tape to seal one side of the void, clay dams used to get the epoxy to flow all the way across the void and other techniques of keeping the expoxy mixture where you wanted it (and out of where you didn't want it) were covered.

June and July
Show and Tell
Pictures

July 28th
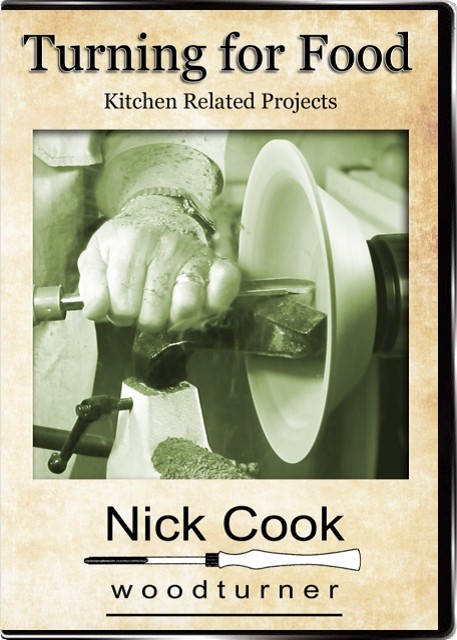
Review of Nick Cook DVD
Turning for Food

discussion leader
Lyle Solem

Lyle led the club through a veiwing of two projects from the Nick Cook DVD
Turning for Food


You can see an intro clip of this video on the web on YouTube

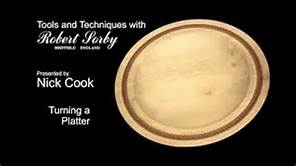
The first project selected to view and discuss was a platter to see the techniques Nick used in side grain orientation


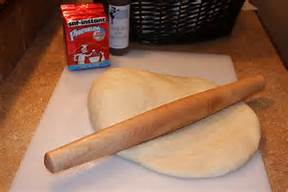
The second project selected to view and discuss was a French rolling pin to see how Nick approached spindle grain orientation


Nick Cook is a full time production turner producing a wide variety of gift items, one of a kind bowls and vessels. In this DVD, Nick demonstrates how to create nine different items that are useful in the kitchen. Projects include: a rolling pin, spurtle (stirring stick), plate, honey dipper, coffee scoop, wine stopper, an amazing salt urn and a pepper mill.

June and July
Show and Tell
Pictures

August 25th
Acrylic Pen Turning

by Scott Shonkwiler

Scott Shonkwiler presents on the special techniques he uses when turning acrylic pens.


Scott uses a step-drill method, starting with a small diameter bit and then works through a progression of larger bits until drilling with the bit of the required diameter. He then brushes out the dust and shavings using an old gun cleaning kit before roughing up the brass tube and gluing with Gorilla glue.


In the photo above Scott is painting the inside of the tube to keep the brass insert from showing through the translucent acrylic.


Primary turning was done with a roughing gouge and skew chisel.


What finish does Scott use? None, he wet sands with micro mesh starting with a very smooth cut surface from the skew chisel. Scott works through the grits from 1,500 to 12,000 and then buffs with white diamond rouge to get a glass-like finish.


Finished click pen, well done and very informative Scott


Show and Tell
Pictures

August 27th
Shop Tour!


Jim VanDeWalker shop


Jim VanDeWalker demonstrates on the Legacy Lathe after giving his shop tour.


Early operations require one hand on the crank rotating the item you are turning and another hand on the crank turning the lead screw that feeds the router up and down the lathe table.


Adjustable stops on the lead screw make the passes with the router repeatable, stopping in the same place every time on both ends of the piece.


Examples of the various types of turnings Jim has created with his Legacy lathe.


The twin spiral candle holder turned in less than one hour in the demonstration today.


Scott Shonkwiler shop


Scott gave a thorough tour of all of the very interesting aspects of his shop. The topics covered ranged from organization for an efficient workflow to comfort.


As you can see on the far wall, everything was clearly labeled.


Each working bay was organized to keep everything at hand which included the corner where the refrigerator full of tasty beverages and TV / DVD player were located.


Chuck Grimm shop


The centerpiece of Chuck's shop had to be this magificent tool cabinet.


Chuck demonstrated several hand tool techniques on his impressive workbench.

September 29th
Annual Club Picnic

Annual club family picnic.
Get in line, time to eat.

The picnic was well attended as it is every year.
A fun evening of good food and good friends.

New cabinet for the trvelling lathes.
Chuck Grimm designed and built the club a second cabinet to hold both the 10 inch and the 12 inch demo lathes. Big, easy rolling wheels and very well constructed. Thanks Chuck!


Show and Tell
Pictures

October 27th
Hollow Forms

Special Guest
Joe Grimm

Guest presentor Joe Grimm demonstrates the techniques he uses to create hollow forms.

Joe working on the outer surface of the hollow form. Although the techniques used here were fairly standard for a spindle-orientation project the very dry cherry burl was very tough with some soft spots and voids which is why Joe used a heavy bowl gouge for most of this work.

Joe turned the piece around and started the hollowing operation next starting with traditional tools and then using carbide and scraper hollowing tools.


Most of the work on the neck area was done with the bowl gouge. A large drill but was used in a chuck held by the tailstock to remove the core of the vase and establish the overall depth as a guide for his efforts.

Judging progress during hollowing effort involved stopping the lathe, clearing the shavings and inspecting by eye.>

Again the tough cherry burl with its soft spots, bark inclusions and voids made this an interesting experiment!

Finished piece, not completely finished but as far as we could go with the time permitted.

We had a good crowd and an interesting discussion. Great presentation Joe!


Show and Tell
Pictures

November 17th
Sanding Techniques

by Mark Behrends

Mark Behrends presented a well-prepared and comprehensive discussion on sanding techniques, tools and materials.

Mark used a wide variety of the may types of sandpaper and mesh commonly used by club members. Mark also demonstrated several approaches to power sanding and hand sanding with a focus on safety and getting a great finish on the wood.

From his experience and expertise in turning a bowl from a green log in one session Mark was able to answer a number of questions on how he sands these pieces as they warp into their final shape. We had enough questions and interest in the milk paint finish technique that Mark uses on these bowls that the club will try to schedule a 2017 presentation to focus on this topic.

A great presentation and very good question-and-answer with the crowd.


Show and Tell
Pictures

December 15th
Annual Holiday Party


Show and Tell
Pictures

Previous program summaries are in the ZVW Repository


ZVW Mentors Program

One of our club's objectives is to enhance our members' woodturning knowledge and skills. To further this objective, the Zumbro Valley Woodturners has a mentors program. This program encourages a ZVW member to have a one-on-one learning experience with a ZVW woodturner who may have considerable skill in a particular area.

The ZVW members in the following table have volunteered to assist other members in learning more about specific woodturning techniques. Any ZVW member who feels confident in any particular woodturning area is welcome to volunteer to be a mentor.

Scott Shonkwiler
(507) 281-5323
scshonkwiler@msn.com
Rochester, MN

Pens
Ornaments
Small turnings

Mark Behrends
(507)649-1204
mbehrends2@yahoo.com
Zumbrota, MN

Bowls
Natural Edge Bowls
Green wood turning

Dave Dunn
507-282-2157
Rochester, MN

Small Items, Surface Enhancements

Lyle Solem
507-289-7501
Rochester MN

All Areas of Turning, Jigs & Fixtures, Small Items

A member who desires assistance in improving a skill, or help with a project, contacts one of the above individuals. A mutually convenient time and place is then arranged for one or more discussion and instruction sessions. This might be in the member's shop with the member using his own lathe and tools, or at the mentor's shop. More than one member may participate in a session if it is agreeable with the mentor.